Create your account
Sign up in the app and land on Home with your company ready, or join the company you work for.
What an account is
Your account is your own login: an email address and a password. It belongs to you, not to a company, so the same login works on every phone and on the web.
Each account is attached to at least one company. If you run the business, you create the company as you sign up. If you work for someone who already uses Jobivo, you join their company instead and see the work they give you.
The app asks which of the two you are on its first screen, so choose the right door before you type anything.
Where to start
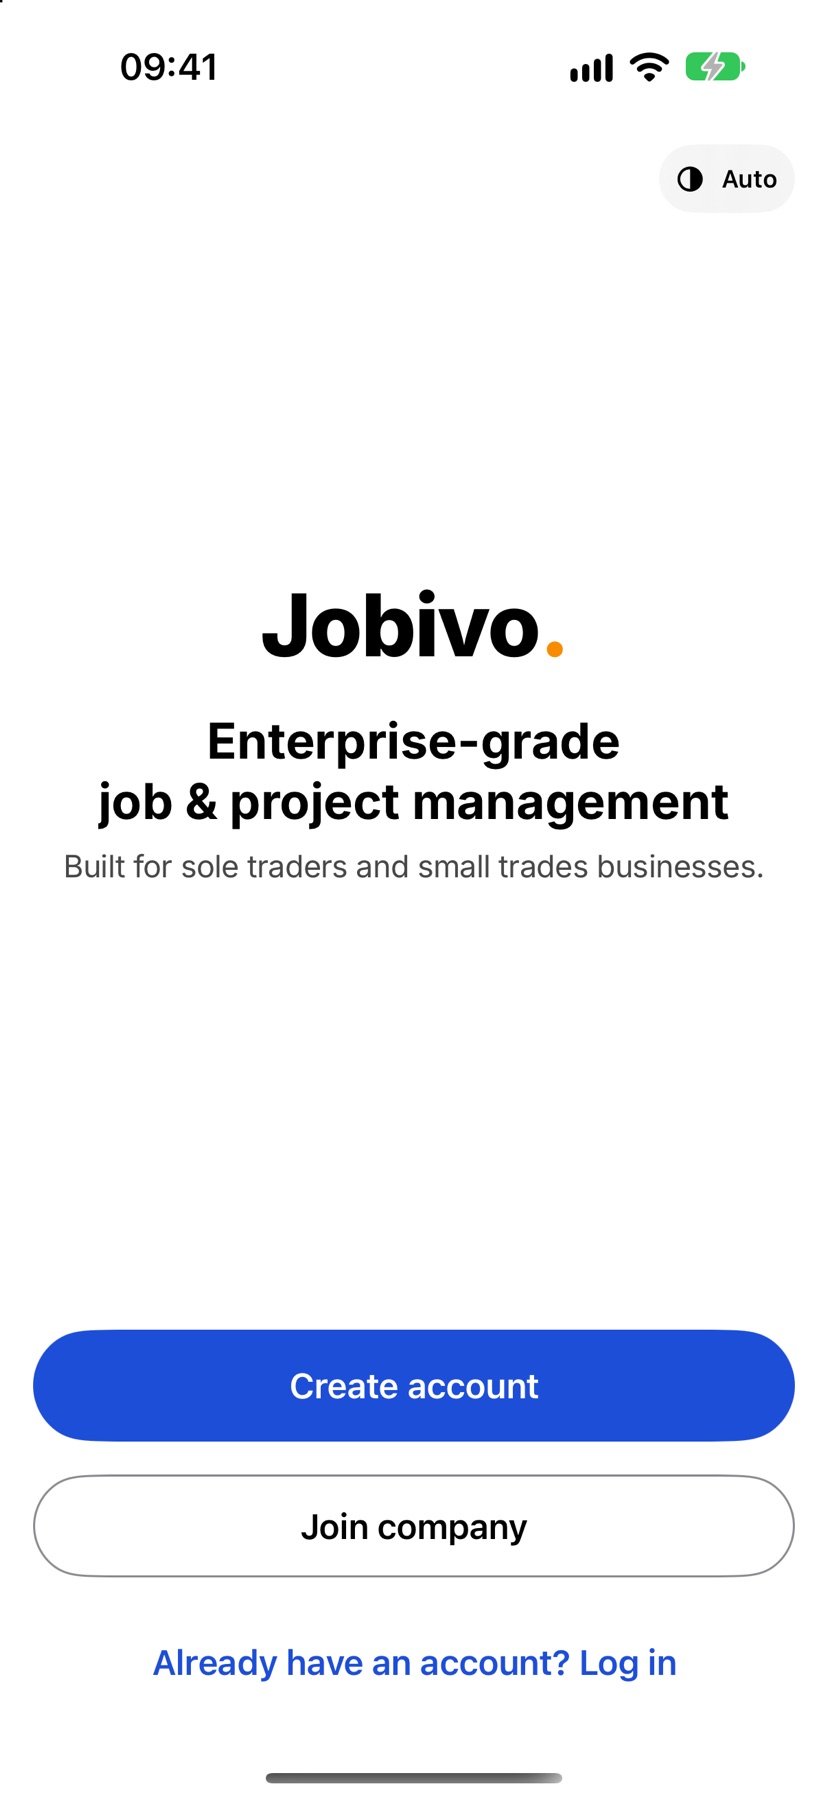
Open Jobivo. The first screen has three choices. Tap Create account to start a company of your own. Tap Join company if your employer already uses Jobivo. Tap Already have an account? Log in if you have signed up before.
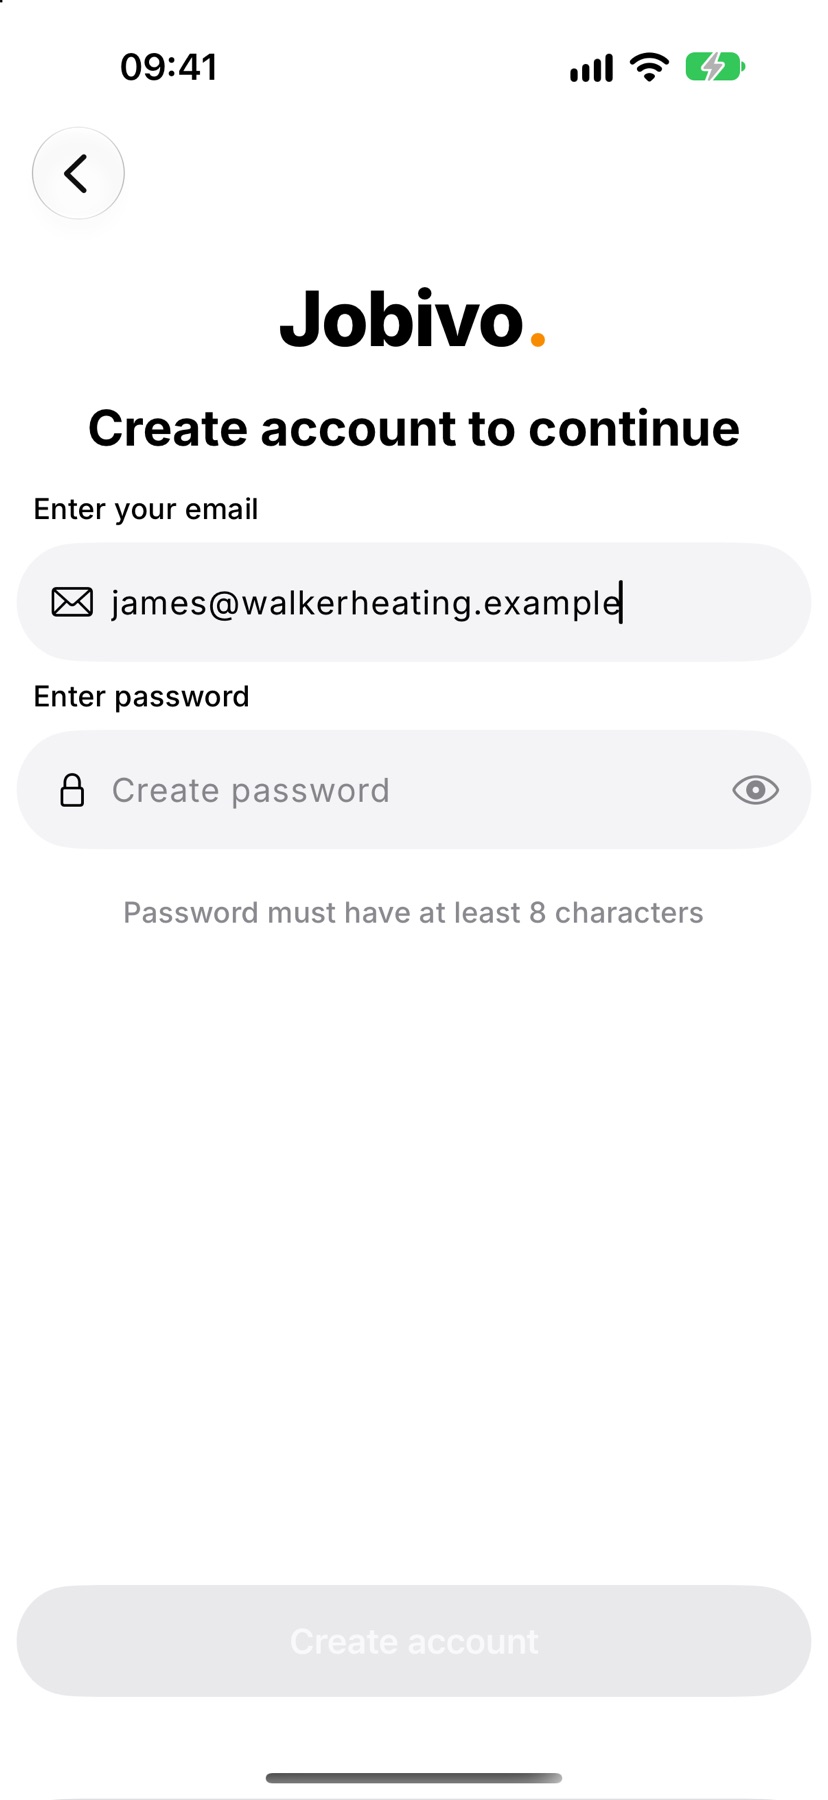
Enter your email and a password
Create account to continue opens. Type your email under Enter your email and choose a password of at least 8 characters under Enter password. A strength meter under the password shows how strong it is. Tap Create account.
Tell Jobivo about your business
Tell us about your business opens. Tap Business type first, because it decides what is asked next.
For a limited company or partnership, type the Company name. The Company Registration Number is optional. For a Sole Trader, type Your name, and add a Trading name only if you trade under one.
Switch on VAT registered? if you are, and type your VAT Number. Then tap Create account. Your account and company now exist.
Choose your team size and trades
Let's tailor Jobivo to you asks three things. Under How big is your team? pick one size. Under Your trade tap every trade you work in, which switches on the certificates and reports for those trades. Under What will you use Jobivo for? tap the parts you want to see.
Tap Continue. All of this can be changed later in Settings, and Skip for now leaves it for another day.
Invite your team and allow notifications
If you said you have a team, Invite your team comes next. Type each Email address, then tap Send invites, or tap Skip at the top right and do it later.
The last screen is Never miss a job update. Tap Enable notifications to be told when jobs change, or Not now. Jobivo then opens on Home.
Join a company that already uses Jobivo
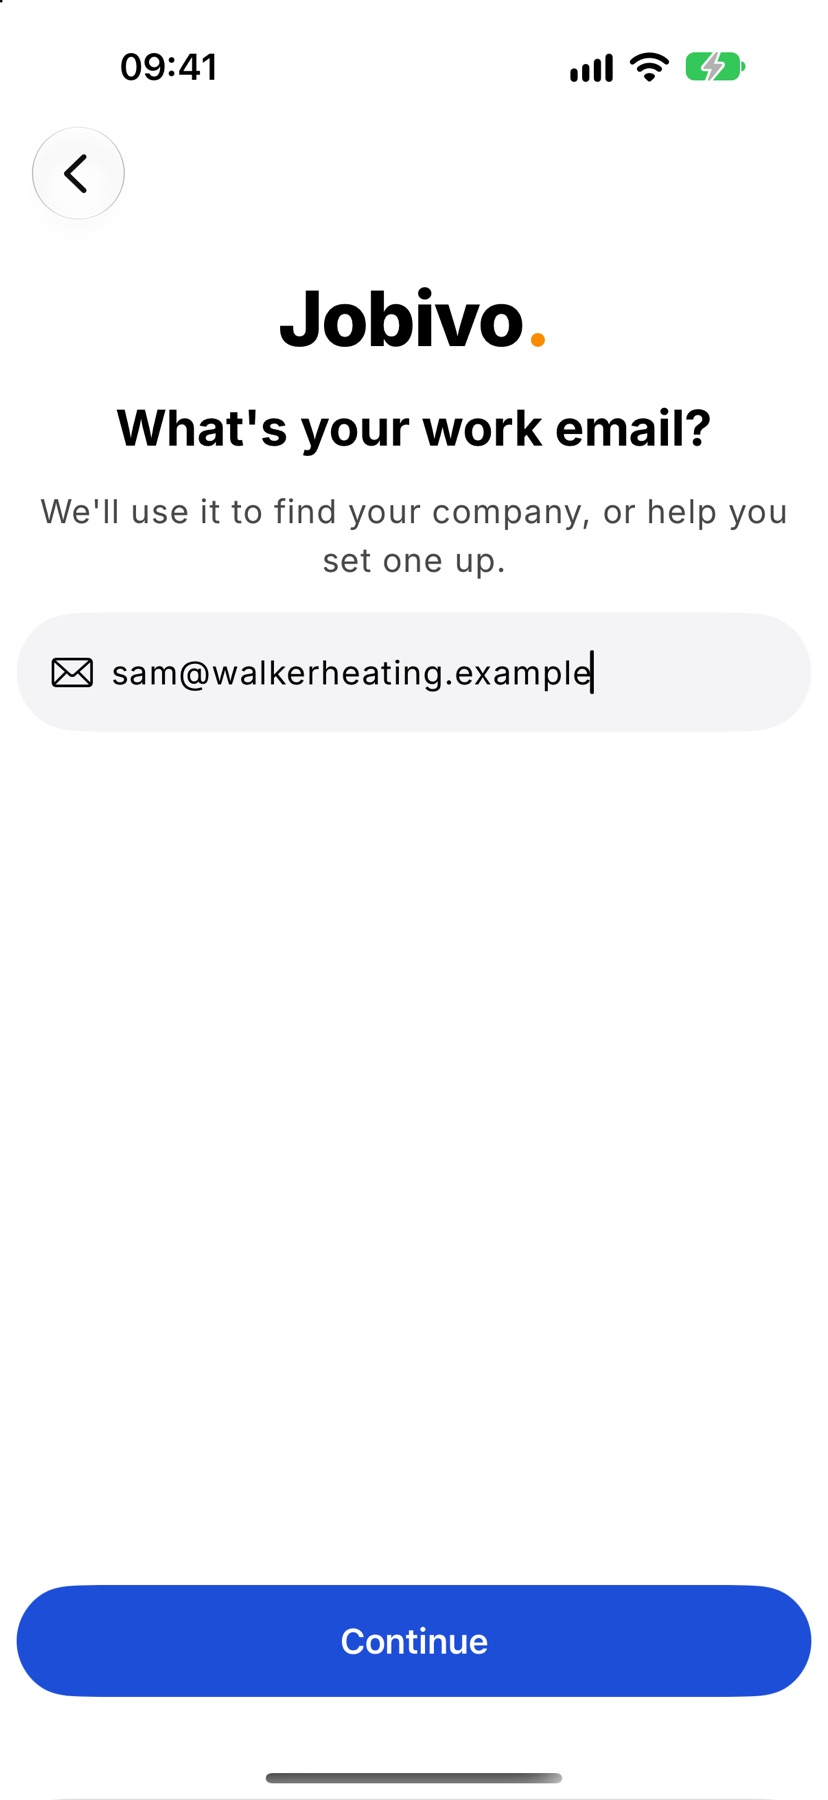
On the first screen tap Join company. What's your work email? opens. Type the email your employer invited, and tap Continue.
If you have been invited, the screen names the company and the role you were given. Set a password and tap Create account & sign in. You go straight into that company.
If no invite is found for that email, Join your company opens instead. Type Your name and a password, and tap Create account. You then see Waiting to be connected. Type the code your employer gave you under Have a company code? and tap Connect with code.
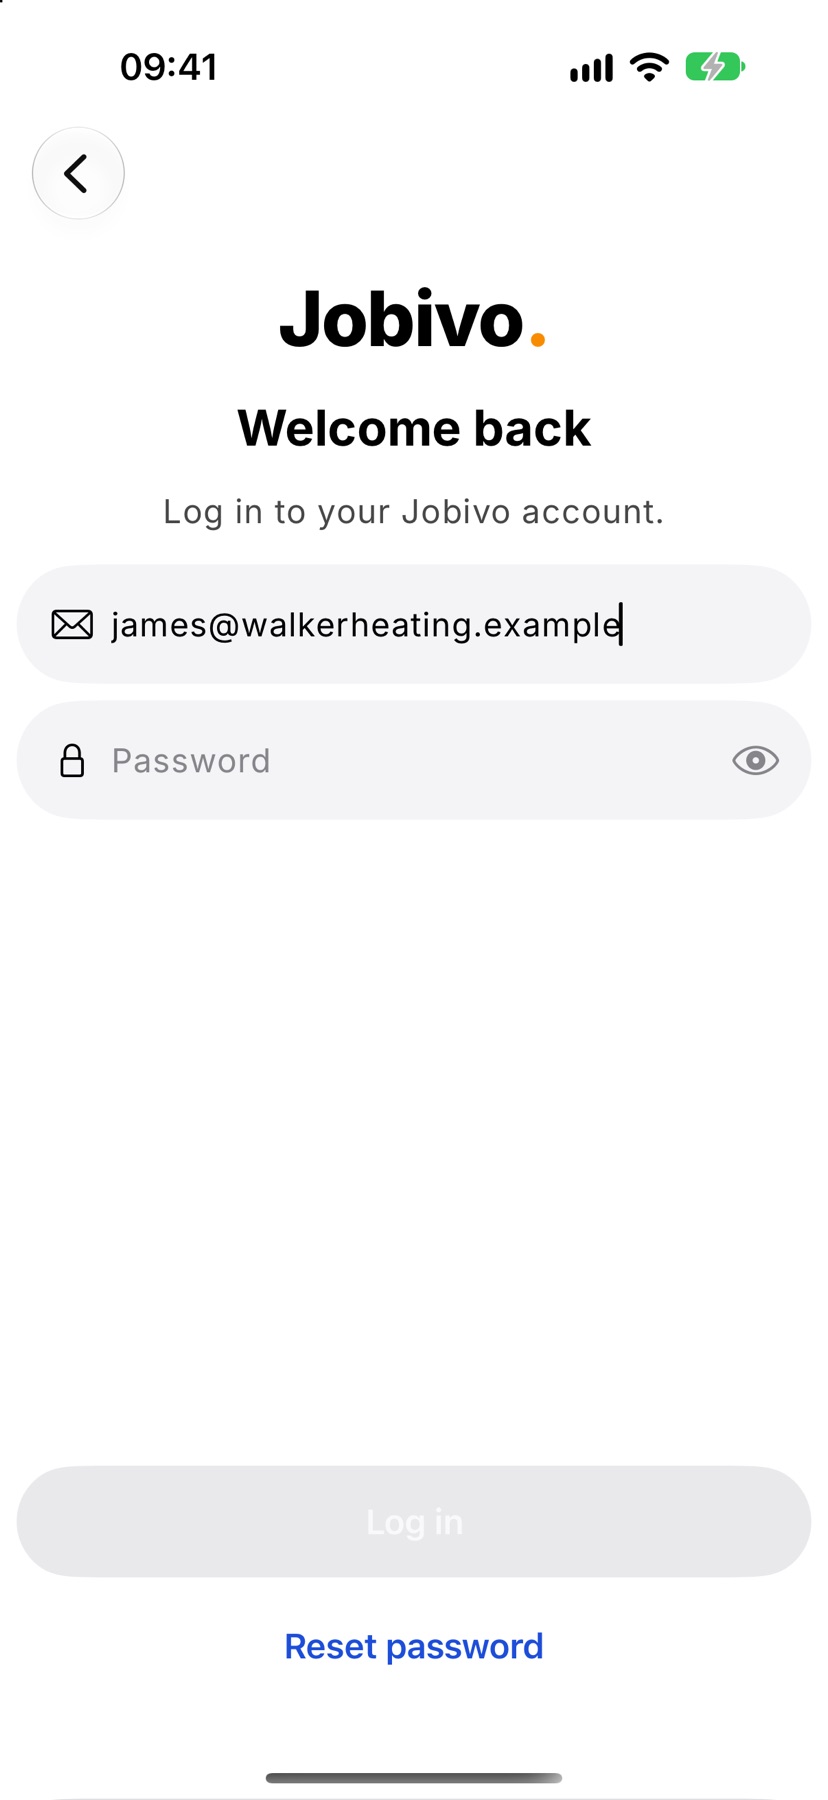
Signing in on another phone
Install Jobivo on the other phone and tap Already have an account? Log in. Welcome back opens. Type your email and password and tap Log in. Your company, jobs and settings are all there.
If you have forgotten the password, type your email and tap Reset password.
More in Getting started →
- Jobivo OverviewHow customers, jobs, evidence and money hang together — the shape of the whole app.
- Find your way aroundHome, the menu, search and the + button — where everything lives on the web, Android and iPhone.
- Set up your companyThe settings worth doing first: your details, VAT, bank details and document defaults.
- The setup checklistThe Finish setup cards on Home — what each one does and which you can skip.
Still stuck? Email support@jobivo.co.uk and we'll get back to you.