Expenses
Know where the money goes. Every receipt, bill and mile gets logged in seconds — and each one either belongs to a job, a project, or the business itself.
Capture it in seconds#
Snap the receipt, type the amount, done — from the van, the counter or the office. Logging mileage? Just enter the miles; the amount is worked out at your company rate (HMRC's 45p a mile). Labour works the same way — pick a day or hourly rate from your price book, enter the days, done.
Attach it — or don't#
Every cost is either overhead (van insurance, fuel, software — no job), on a project, or on a job. Attaching to a job is what turns spending into job costing — it counts in that job's Spent figure.
Billable, and who paid#
Mark a cost billableand it's offered back to you when you invoice the customer — nothing slips through. Choose paid personallywhen someone covers a cost from their own pocket: it's tracked until the company pays them back, and the total sits in the “owed to team” chip above the ledger.
Where it ends up#
With Xero or QuickBooks connected, each cost lands in your accounts as a transaction carrying the job reference — so your accountant can tie everything back. The receipt image itself stays in Jobivo.
Tip — team members can log costs on the jobs they're assigned to — straight from their phone on site — so receipts don't pile up in the van.
Log what you actually spent on a job, so its costs and profit stay true.
What an expense is
A cost is what you planned to spend on a job. An expense is what you actually spent: a receipt from the merchant, miles driven, or hours of labour.
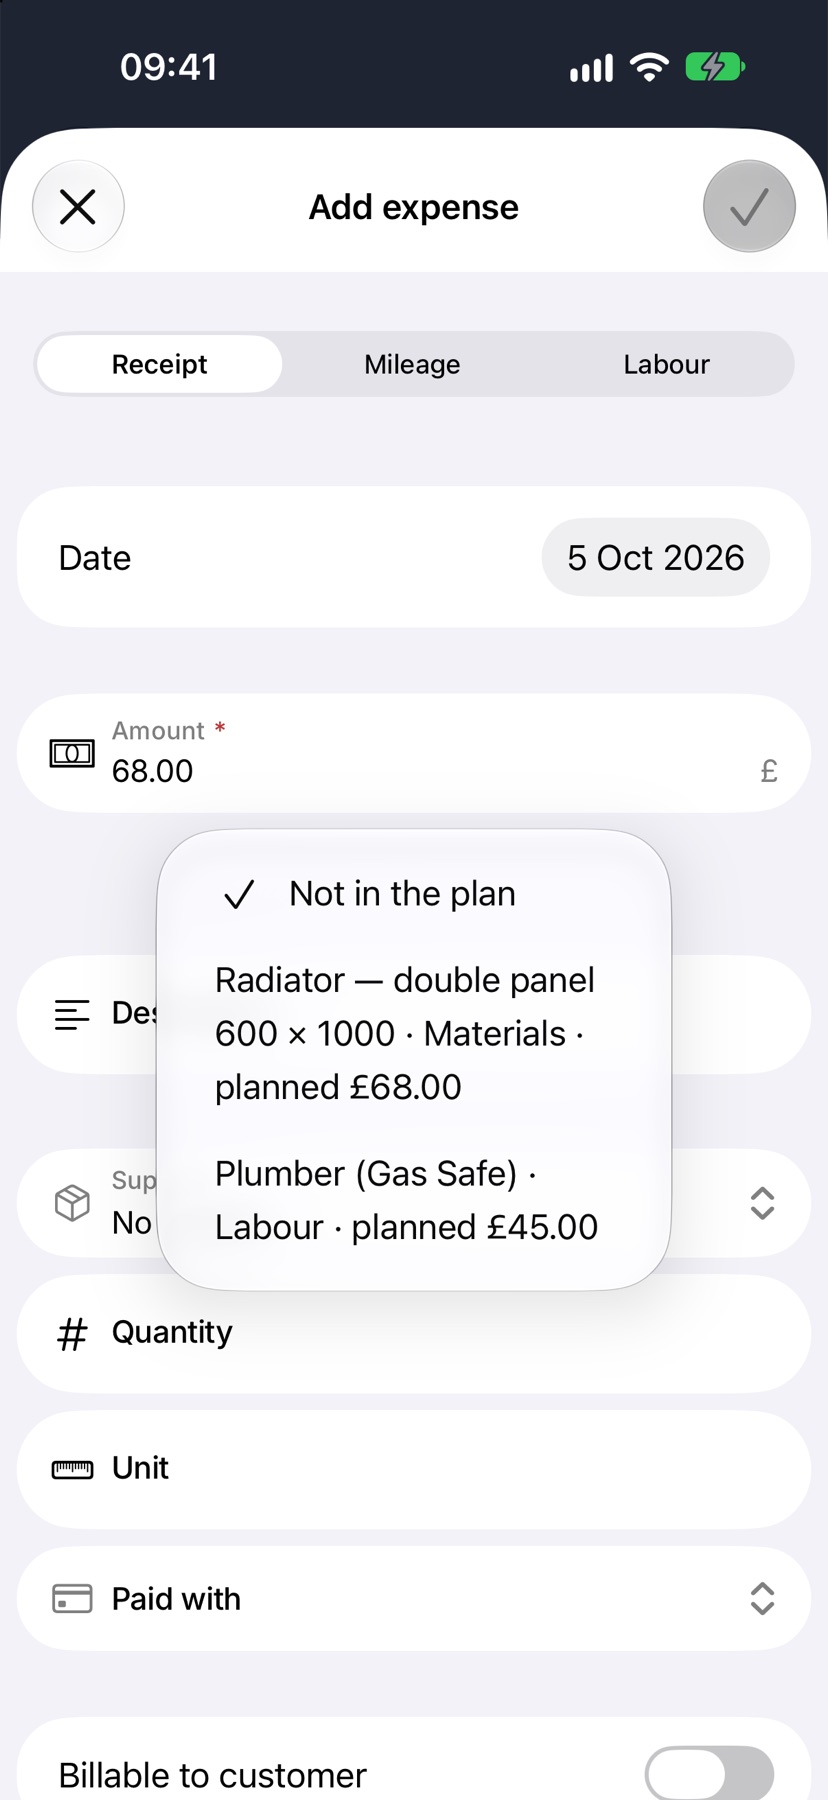
Logging expenses against the job is what lets Jobivo show spend against plan and warn you when a job goes over. Each expense can be matched to the planned cost it paid for.
Where to start
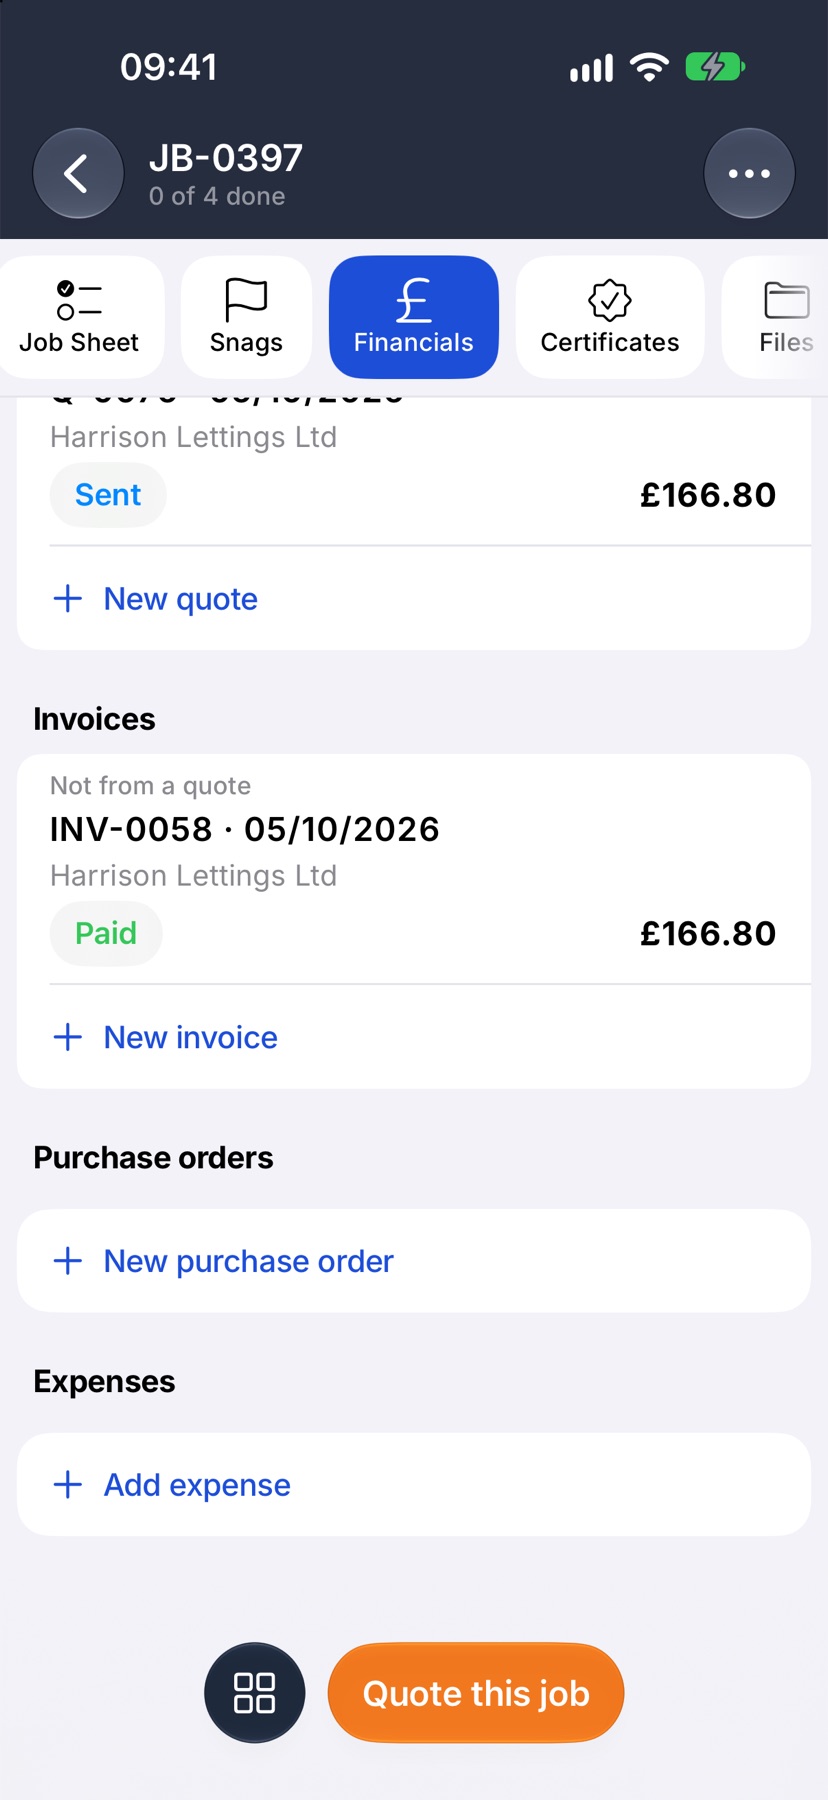
Open the job, tap Financials and scroll to Expenses. Tap Add expense.
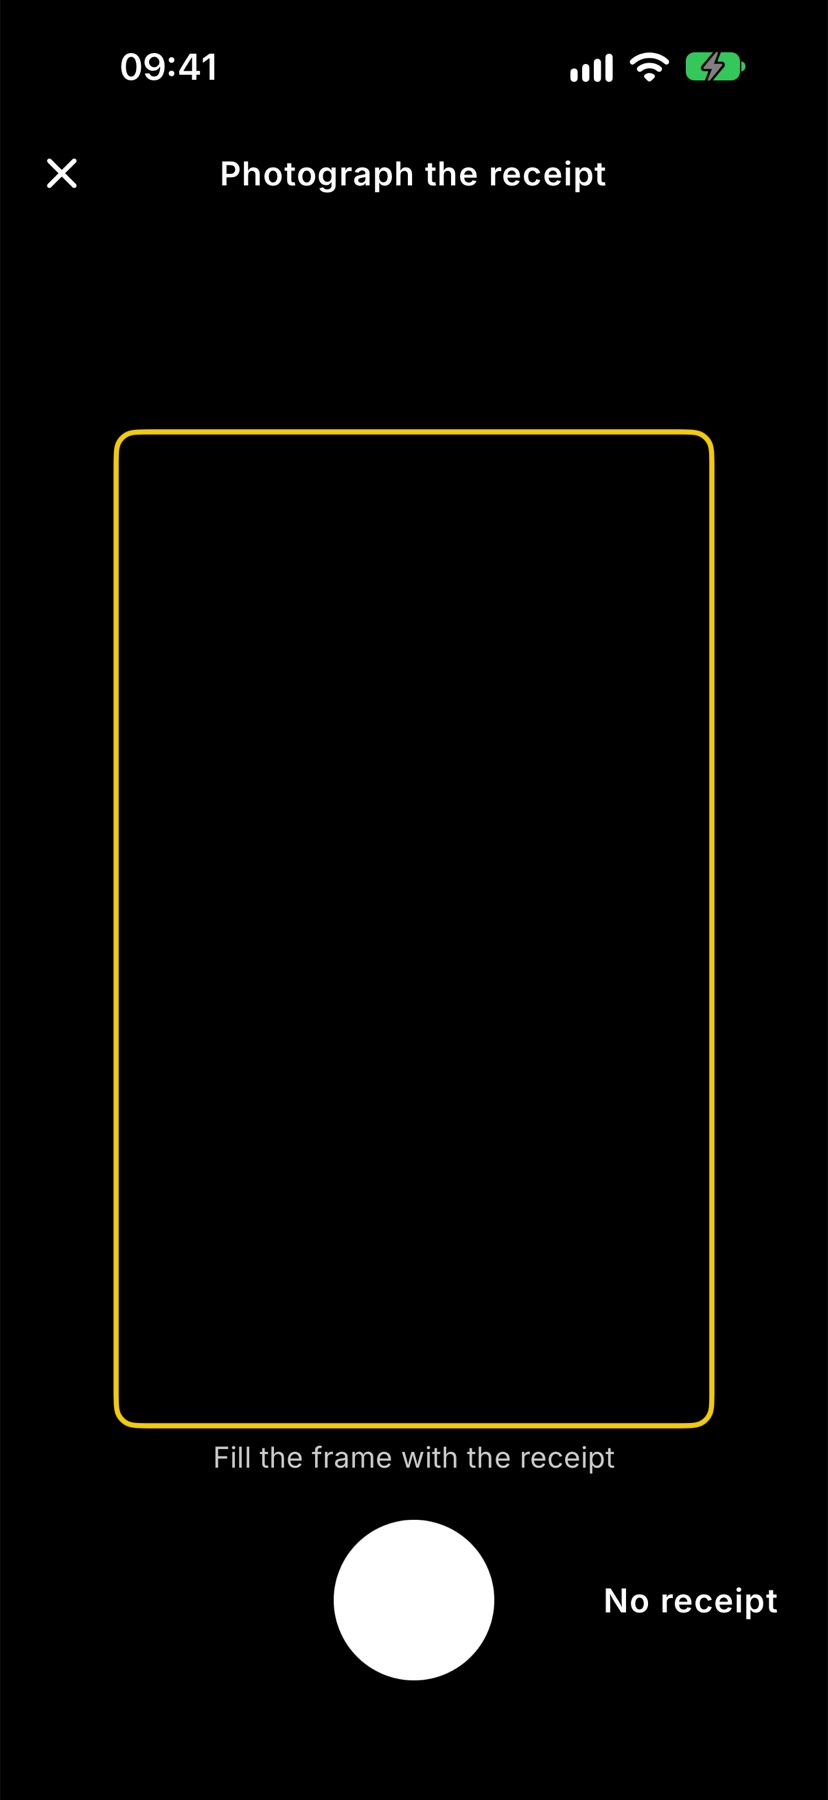
Photograph the receipt
The camera opens. Fill the frame with the receipt and take the photo, so it is kept with the expense. With nothing to photograph, tap No receipt.
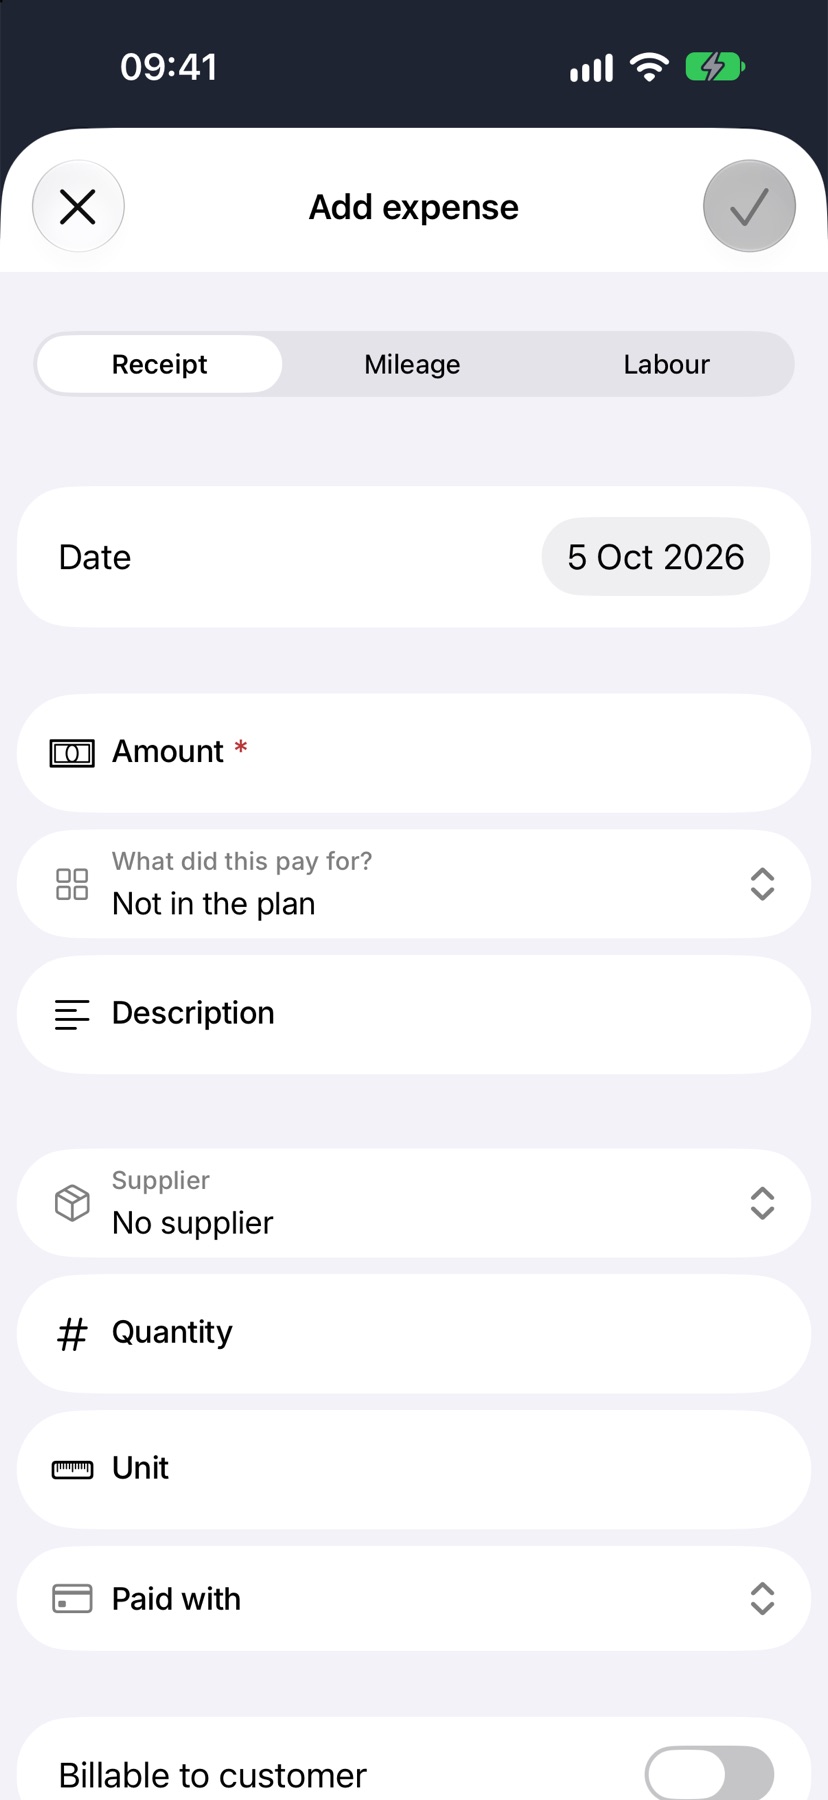
Enter the amount and what it paid for
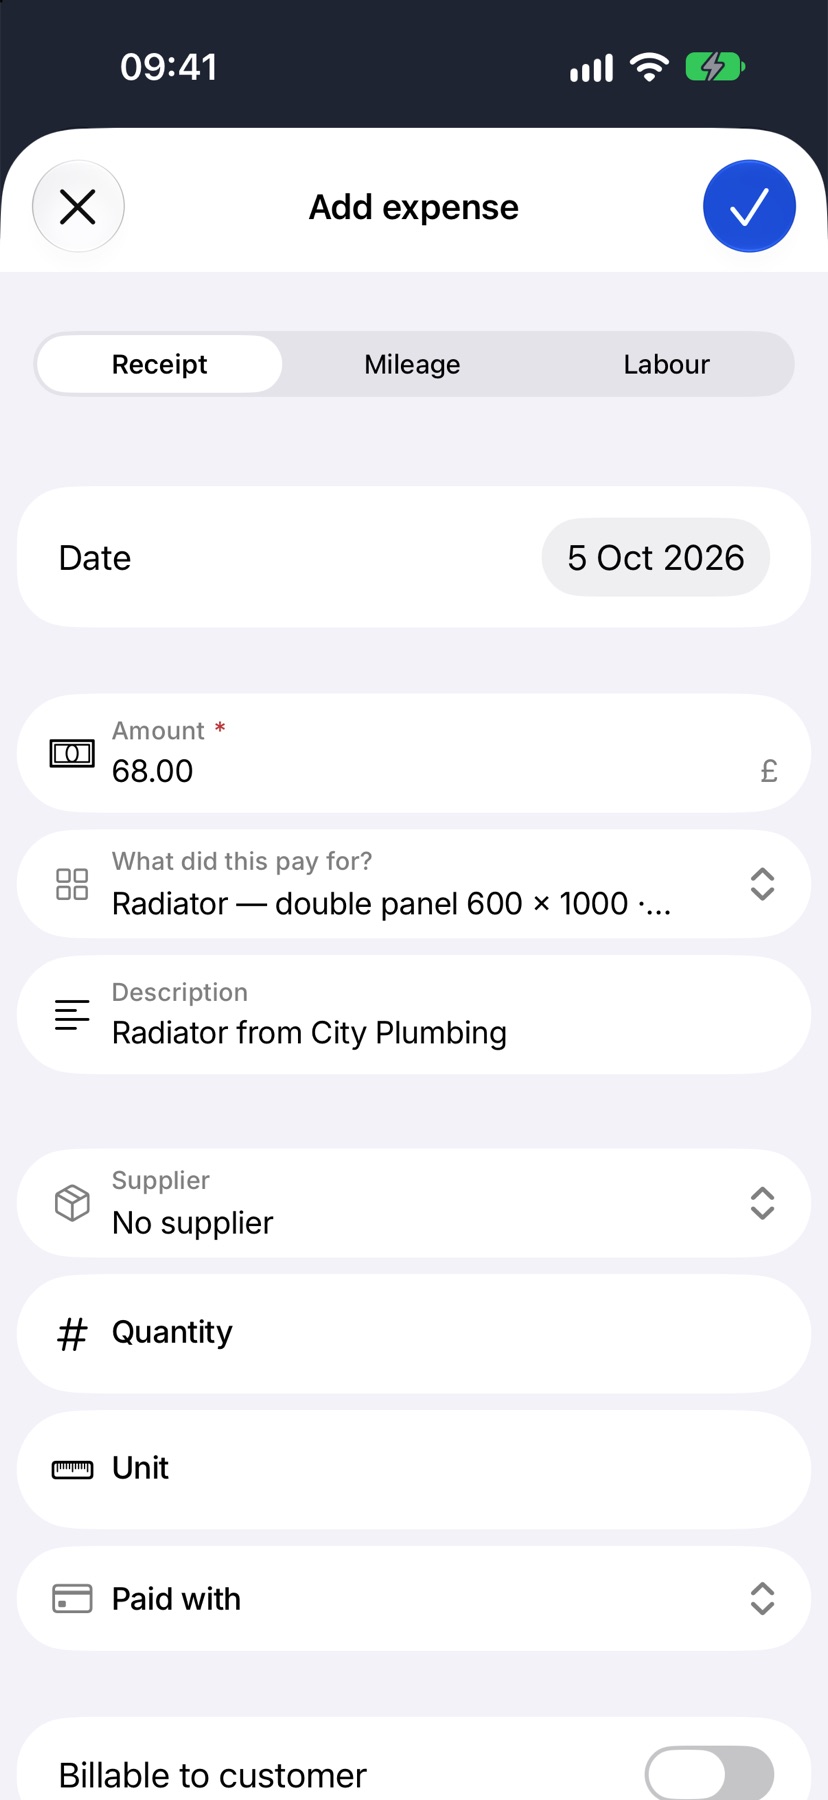
Add expense opens on Receipt. Switch to Mileage or Labour at the top for those. Enter the Amount, then tap What did this pay for? and pick the planned cost it belongs to, or leave it as Not in the plan.
Describe it and save
Add a short Description. Supplier, quantity and how it was paid are optional. Tap the tick to save.
After it is saved
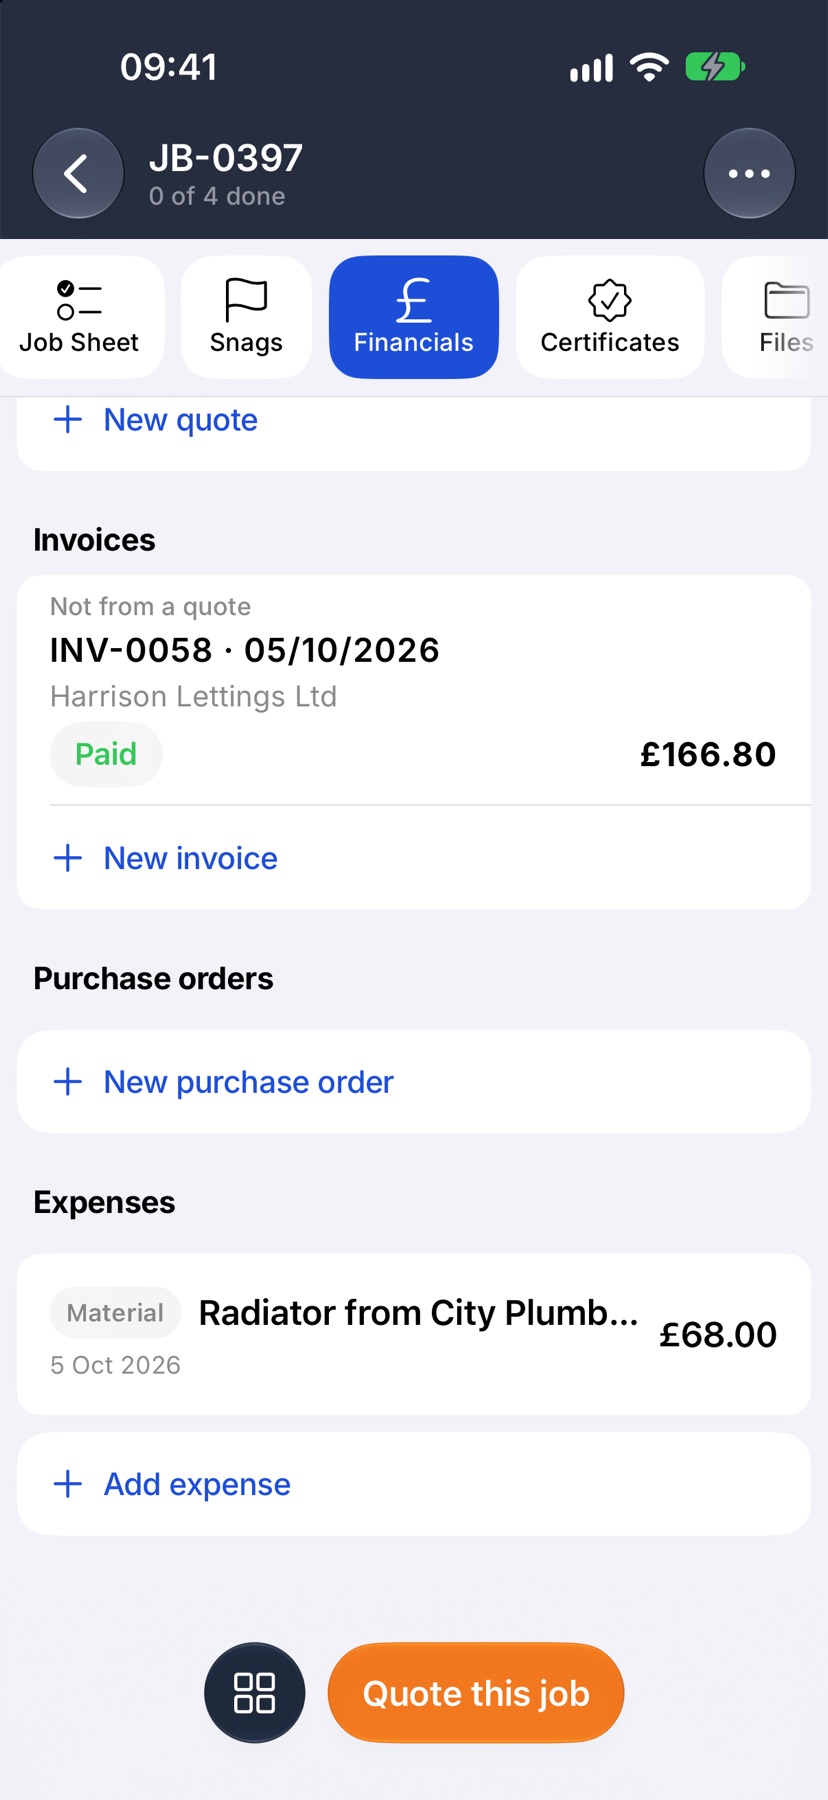
The expense is listed under Expenses on the job, and the Costs figure in the Summary now counts it as spent.
More in Costing & purchasing →
- Estimate, committed, actualHow the cost strip reads, and why committed costs stop a job looking healthier than it is.
- Add costs to a jobBuild up what a job will cost you, see the profit, and quote the customer from it.
- Check a job's profitSee what a job is making, what has been paid, and where the cost is going.
- Purchase ordersRecord what you have ordered the moment you order it, not when the bill lands.
See what else Financials can do. Still stuck? Email support@jobivo.co.uk and we'll get back to you.