Design your quotes and invoices
Set your logo, template, colour, numbering and standard wording once, and every quote and invoice uses them.
What you can set
Your quotes, invoices and purchase orders share one design: your logo, a template, and an accent colour. You choose it once and every document follows it.
You also set how documents are numbered, and the notes, terms and email wording that each new document starts with.
These settings belong to the company, so only the owner sees them.
Where to start
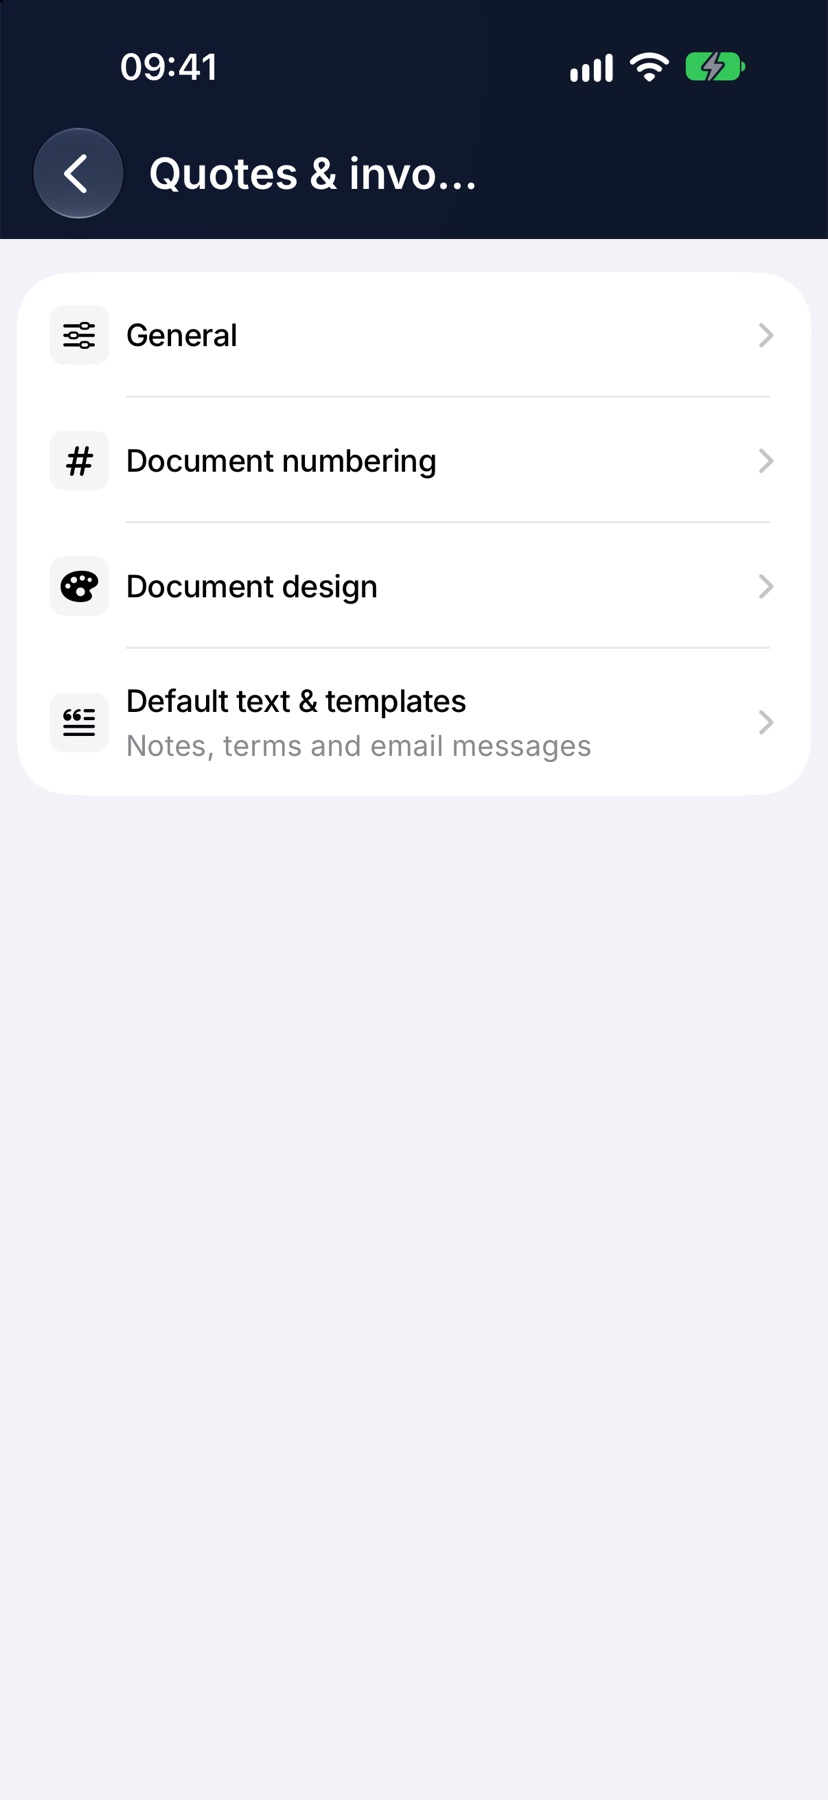
Tap the menu button at the top left of Home and tap Settings at the bottom. Under Preferences, tap Quotes & invoices.
Add your logo and choose a template
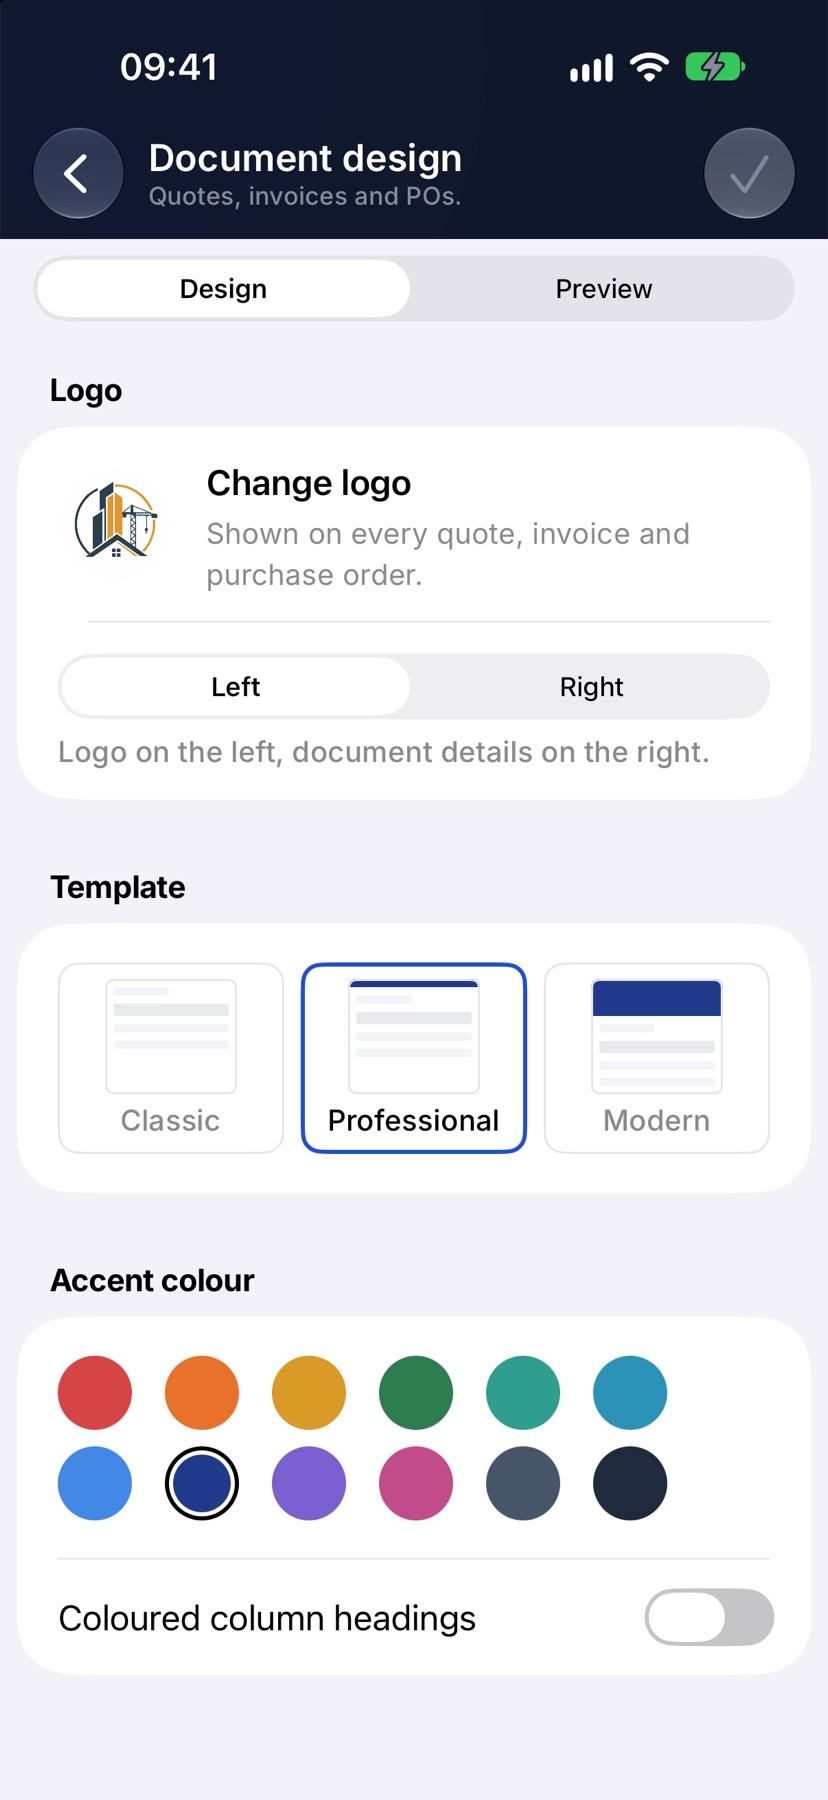
Tap Document design. Under Logo, tap Add logo and pick the image from your photos. Once you have one it reads Change logo.
Under Template, choose Classic, Professional or Modern. Under Accent colour, tap a colour. Coloured column headings fills the headings of the lines table with that colour.
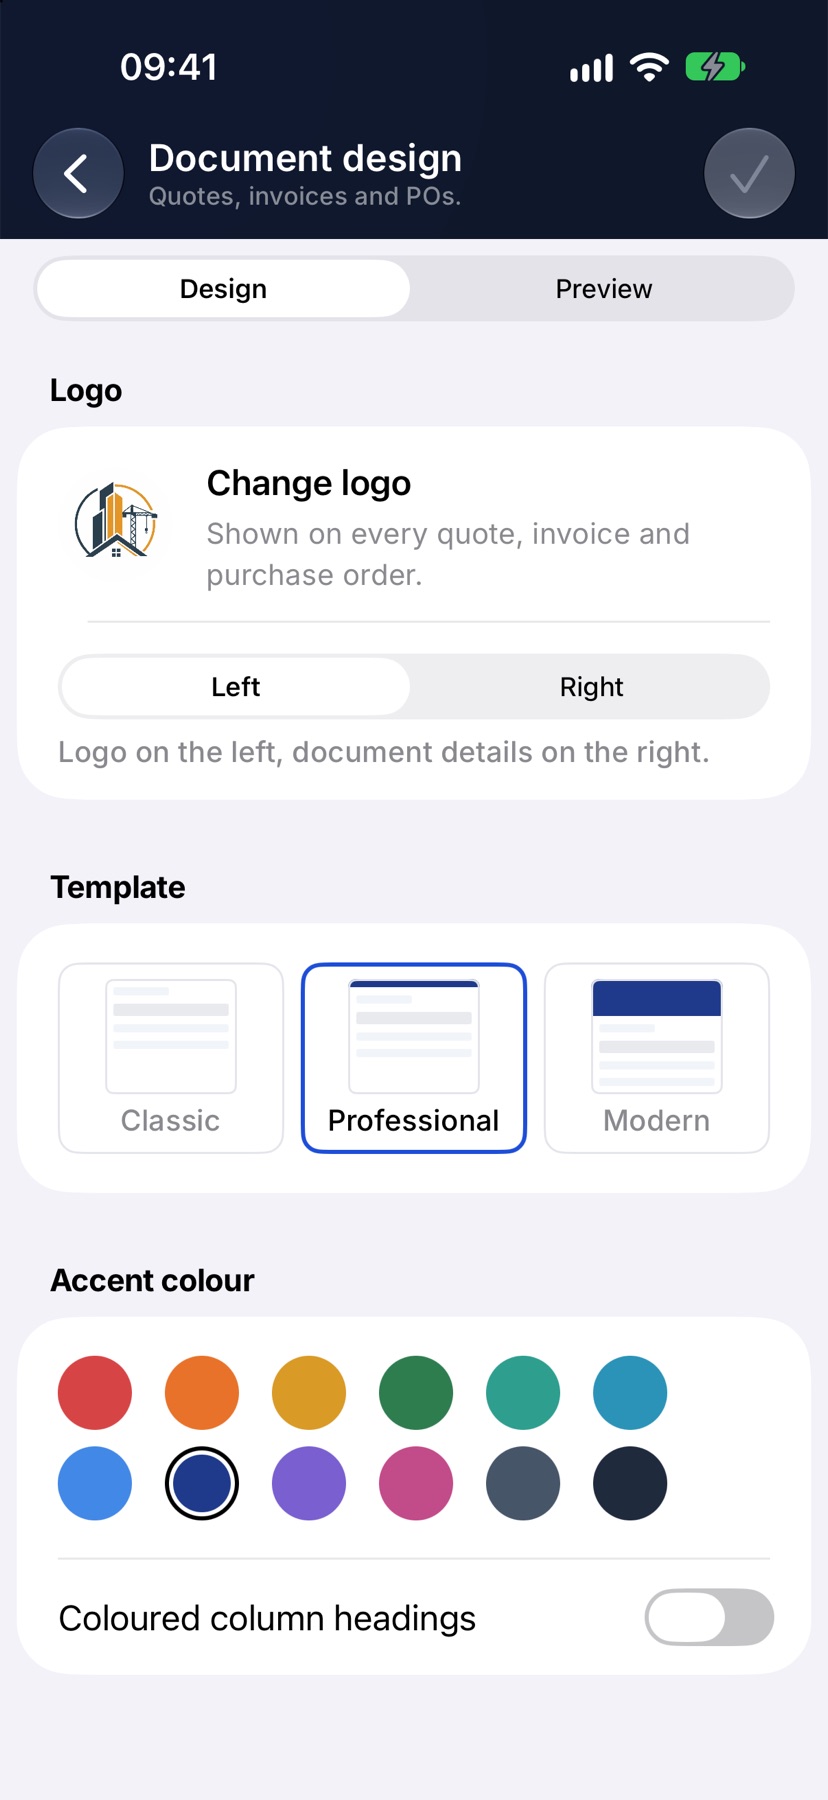
Tap Preview at the top to see a sample document in your design, as a quote or an invoice, in Summary or Itemised form. Tap the tick to save.
Change the design from a quote or invoice
You can also change the design while looking at a real document. Open any quote or invoice, tap the square button at the bottom left, and tap Customise. The Document design screen opens, with the same choices. The change applies to all quotes and invoices, not just this one.
Set how documents are numbered
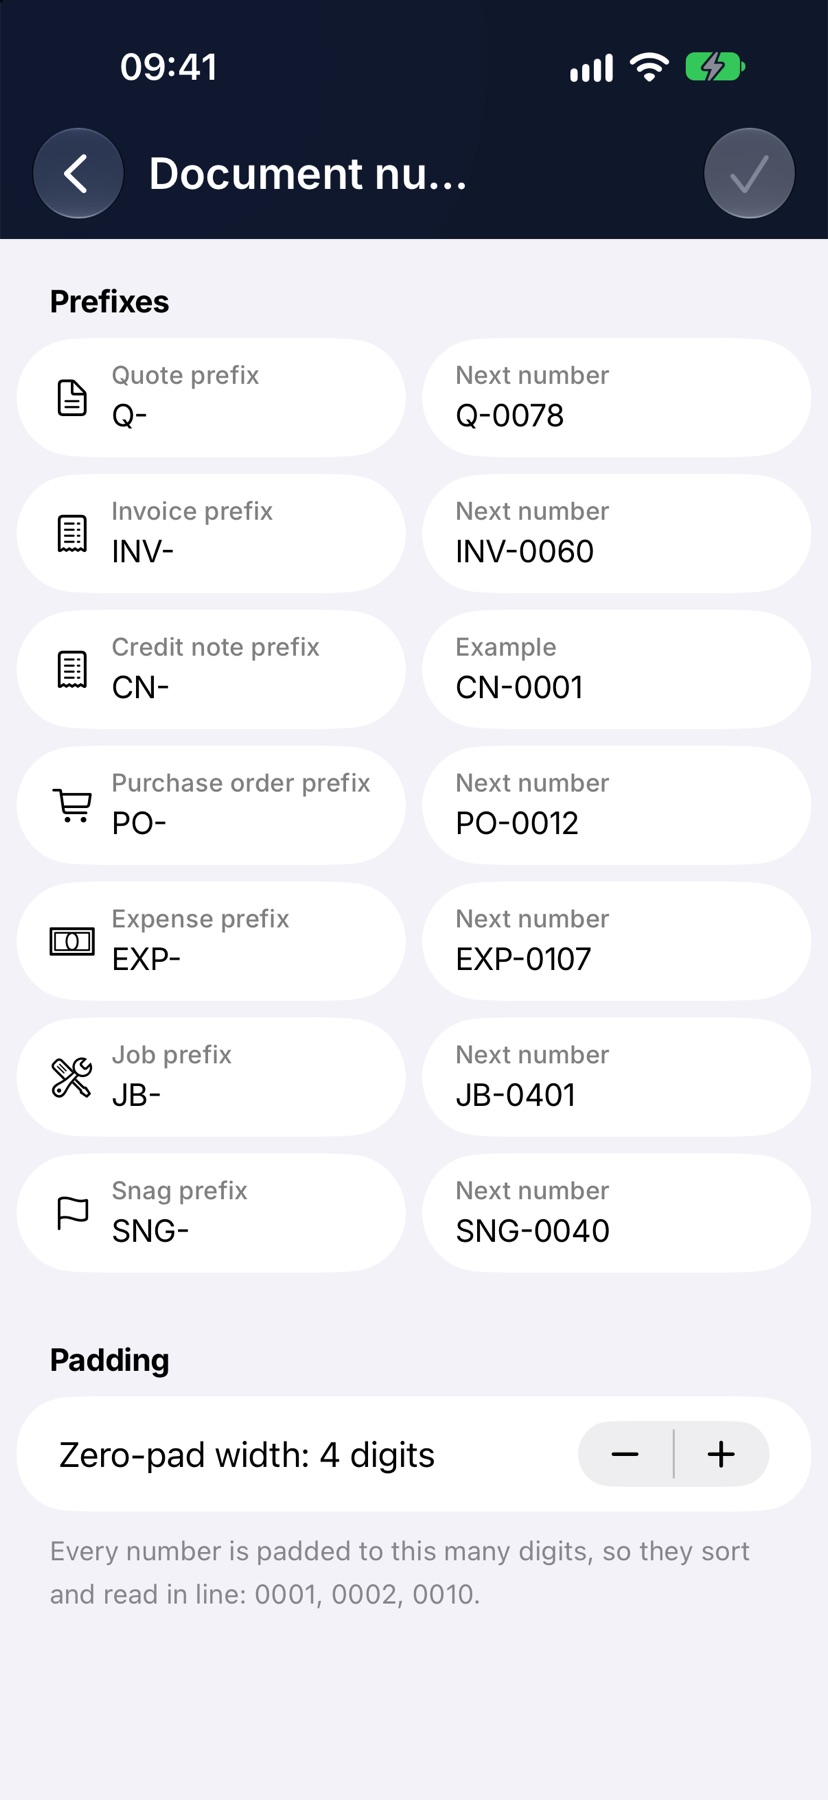
Go back to Quotes & invoices and tap Document numbering. Under Prefixes, set the letters that start each number, such as the Quote prefix and Invoice prefix. Beside each one, Next number shows the number the next document will get.
Under Padding, Zero-pad width sets how many digits every number has. Tap the tick to save.
Set the default notes, terms and emails
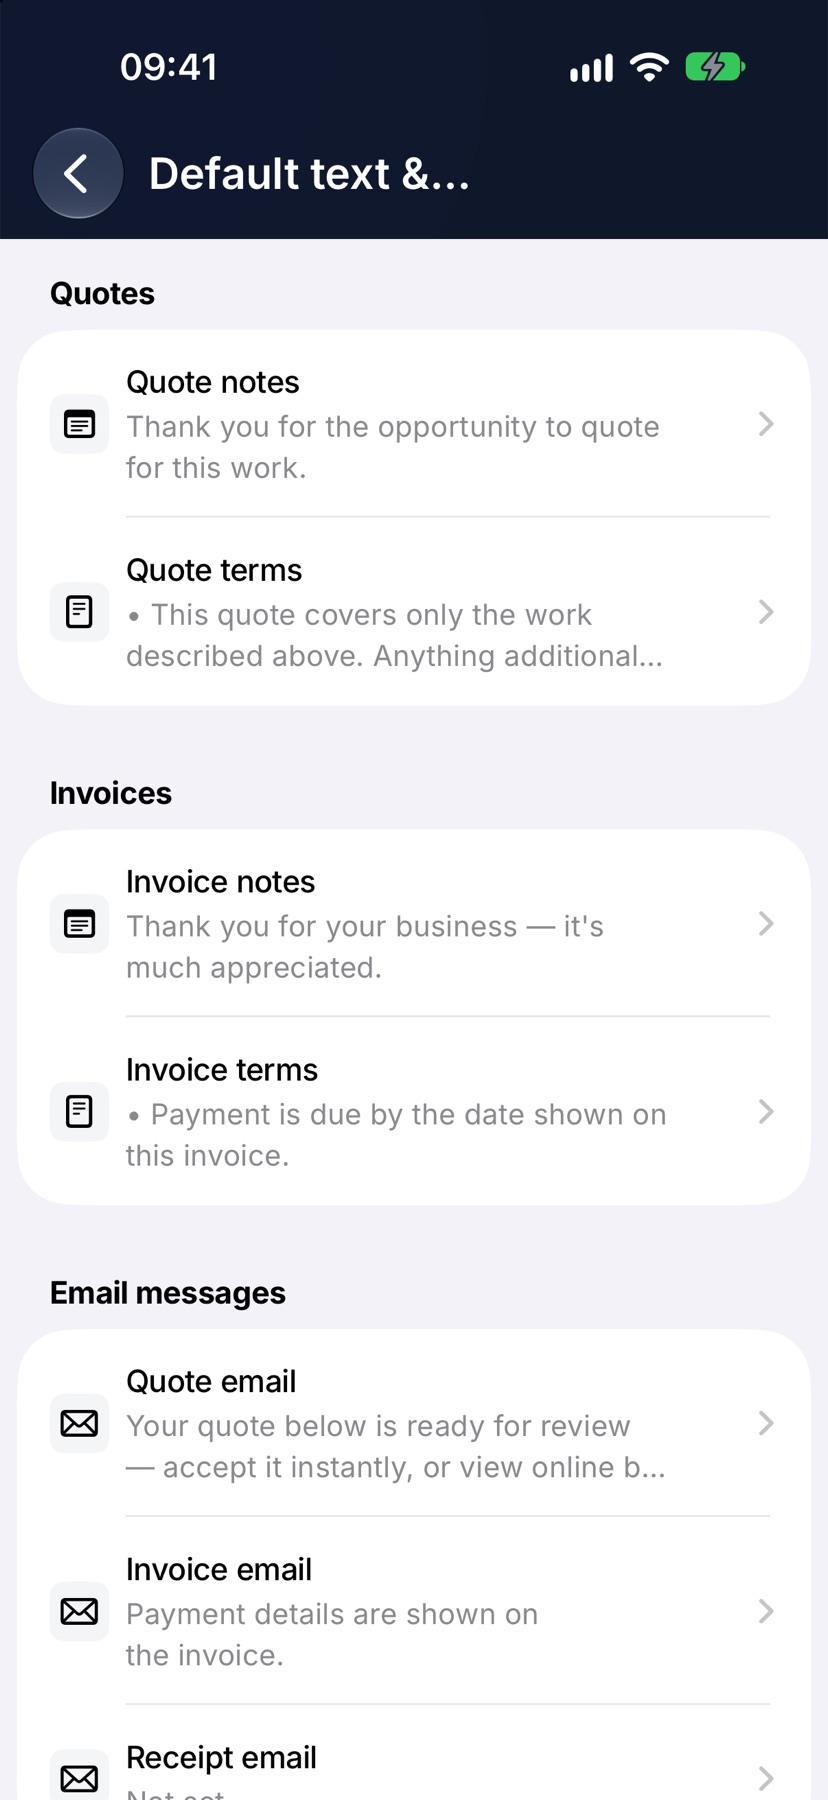
Go back and tap Default text & templates. There is a row for each piece of wording: Quote notes, Quote terms, Invoice notes, Invoice terms, and the Quote email, Invoice email and Receipt email messages.
Tap a row, type the wording and tap the tick. New documents start with it. You can still change the notes and terms on any one quote or invoice.
Set payment terms and quote validity
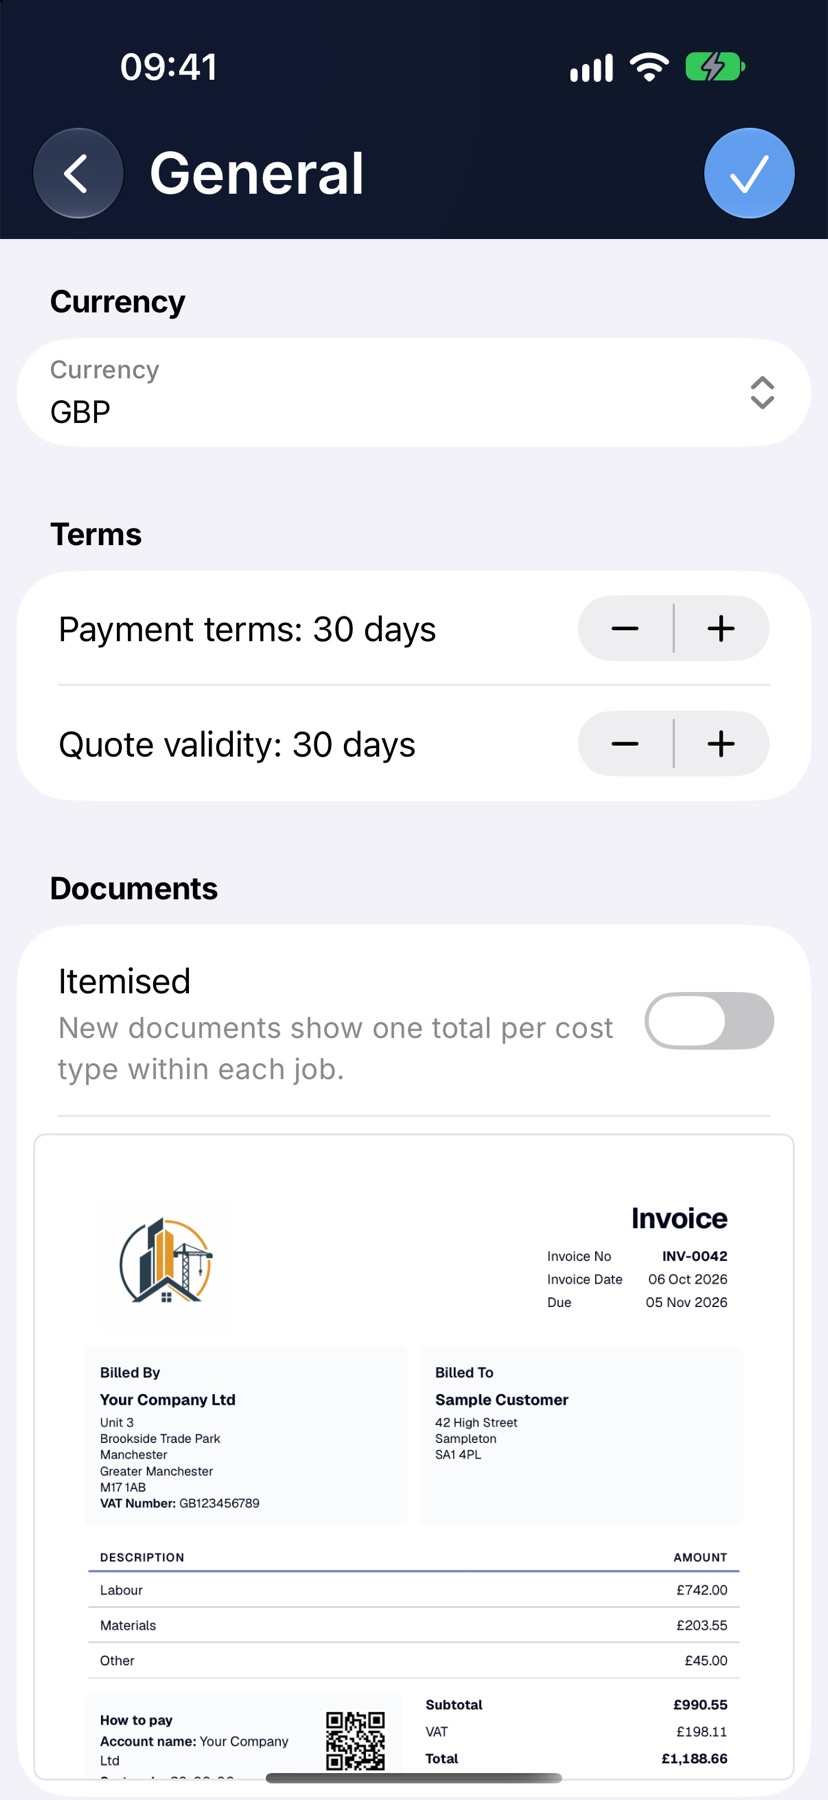
Tap General. Choose your Currency. Under Terms, set Payment terms, the number of days a customer has to pay an invoice, and Quote validity, the number of days before a quote expires. Under Documents, Itemised decides whether new documents show every line or one total per cost type. Tap the tick to save.
VAT rates and units
VAT is set with your company details. In Settings, tap Business details, then VAT Registration under Tax registrations. Switch on VAT registered and choose the Default rate. Close the sheet and tap the tick on Business details to save.
Units are chosen on each price book item. Open an item in the Price book and tap Unit. Edit / new unit adds one of your own.
What changes
The design is your company default for quotes, invoices and purchase orders. Numbering and default wording apply to documents you create from now on.
More in Quotes & invoices →
- Price bookBuild your cost items once, then price any job in minutes without showing your margin.
- Send your first quoteFrom a blank quote to the customer's inbox — and what they see when it arrives.
- QuotesBuild a quote from cost lines, send it, and let the customer accept it online.
- Revise a quote or add a variationChange a sent quote without losing the original, or price extra work as a variation.
Still stuck? Email support@jobivo.co.uk and we'll get back to you.