Take and mark up photos
Take photos on a job, draw on them before they save, and find them again with where they were taken.
What job photos are for
Photos taken in Jobivo are saved to the job, not to your phone's camera roll. Everyone on the job sees them, and they stay with the job as the record of the work.
A photo can belong to one task, such as the finished pipework on “Fit new radiator”, or to the job as a whole. Before a photo saves you can draw on it to point something out.
If you allow it, each photo also keeps the place it was taken, and the job shows those places on a map.
Where to start
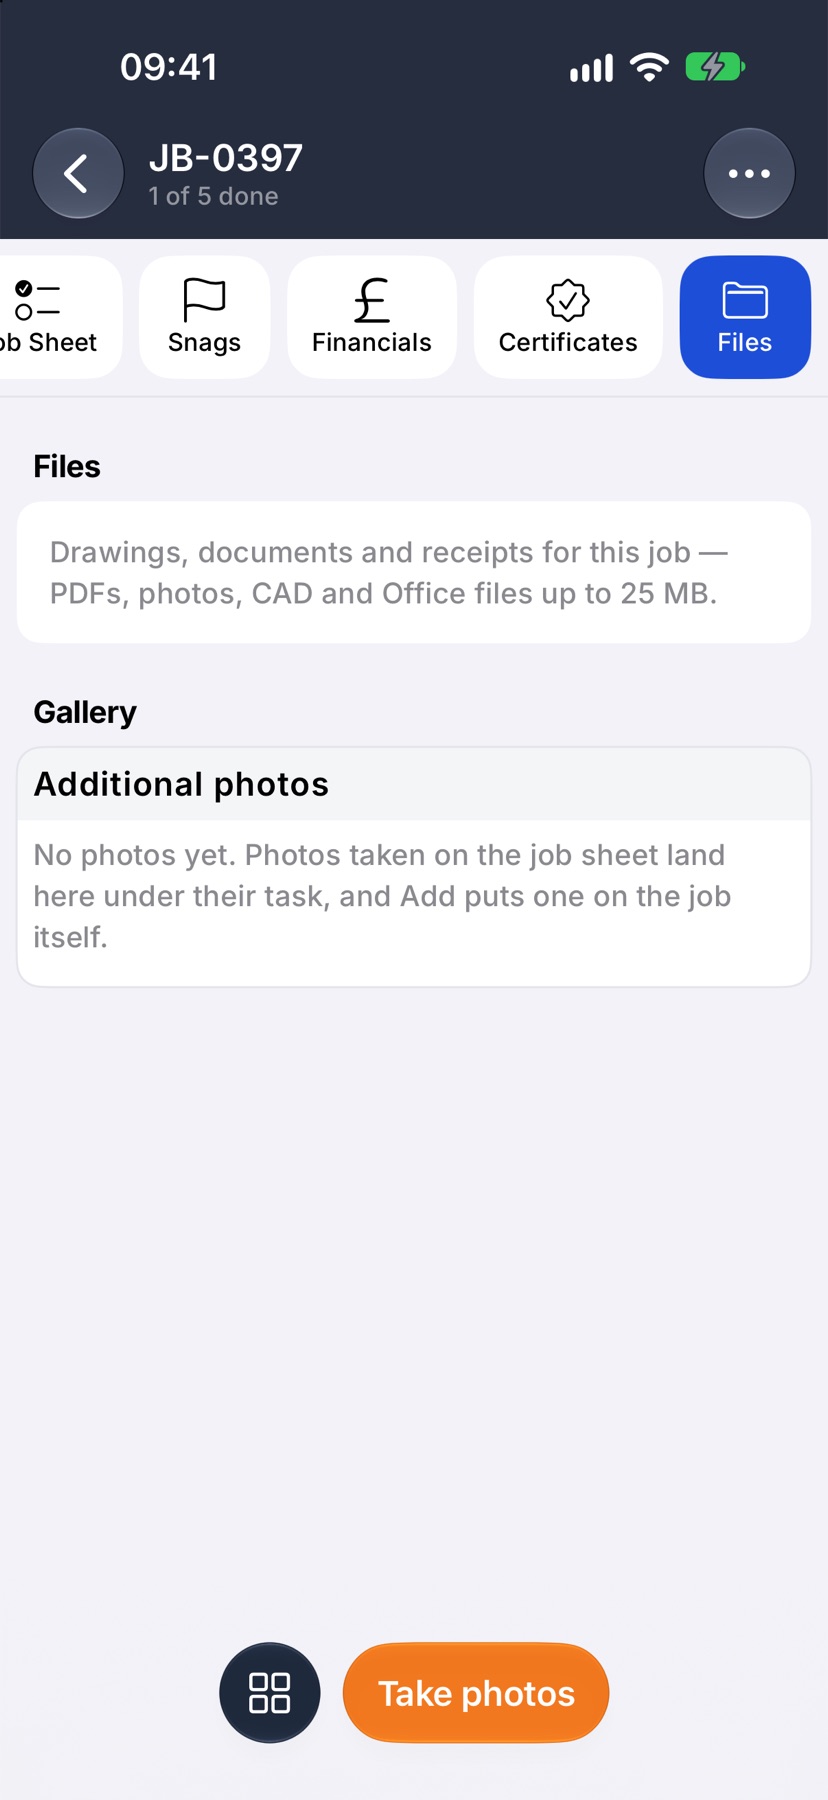
Open the job and tap Files in the tabs across the top. Tap Take photos at the bottom of the screen. The camera opens.
To put photos on one task instead, stay on Job Sheet, tap the task, and tap Add photos under Photos. Then choose Take photos.
Take the photos
Tap the round shutter button to take a photo. The camera stays open, so keep going until you have what you need. Done counts the shots as you take them.
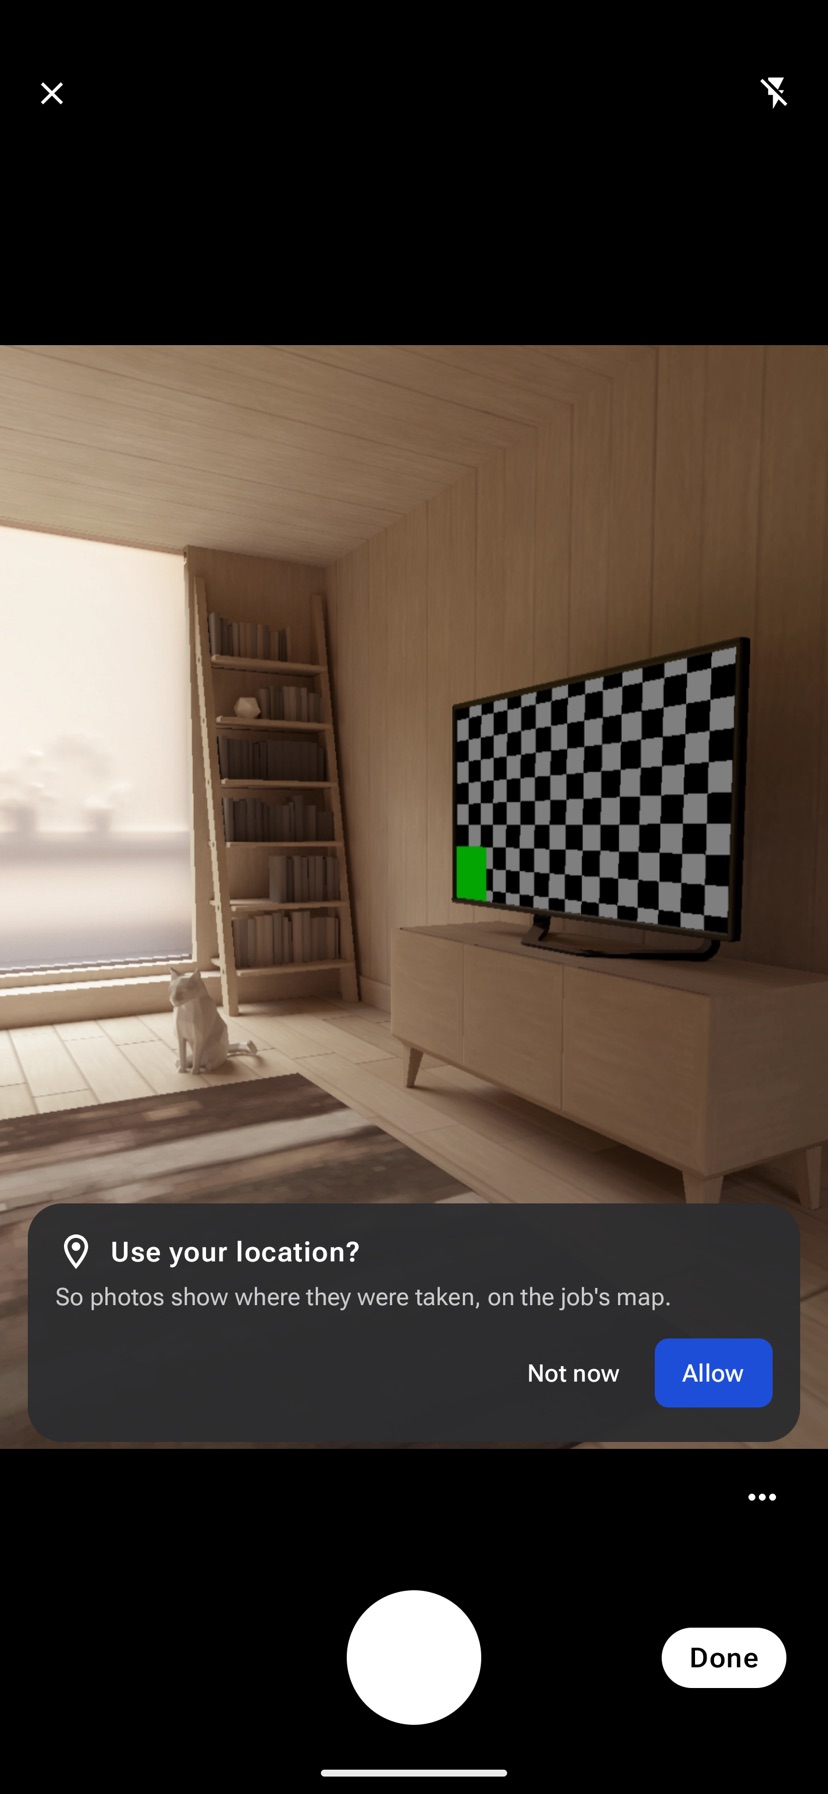
The first time, the camera asks Use your location? Tap Allow so photos show where they were taken on the job's map, or Not now to leave it off.
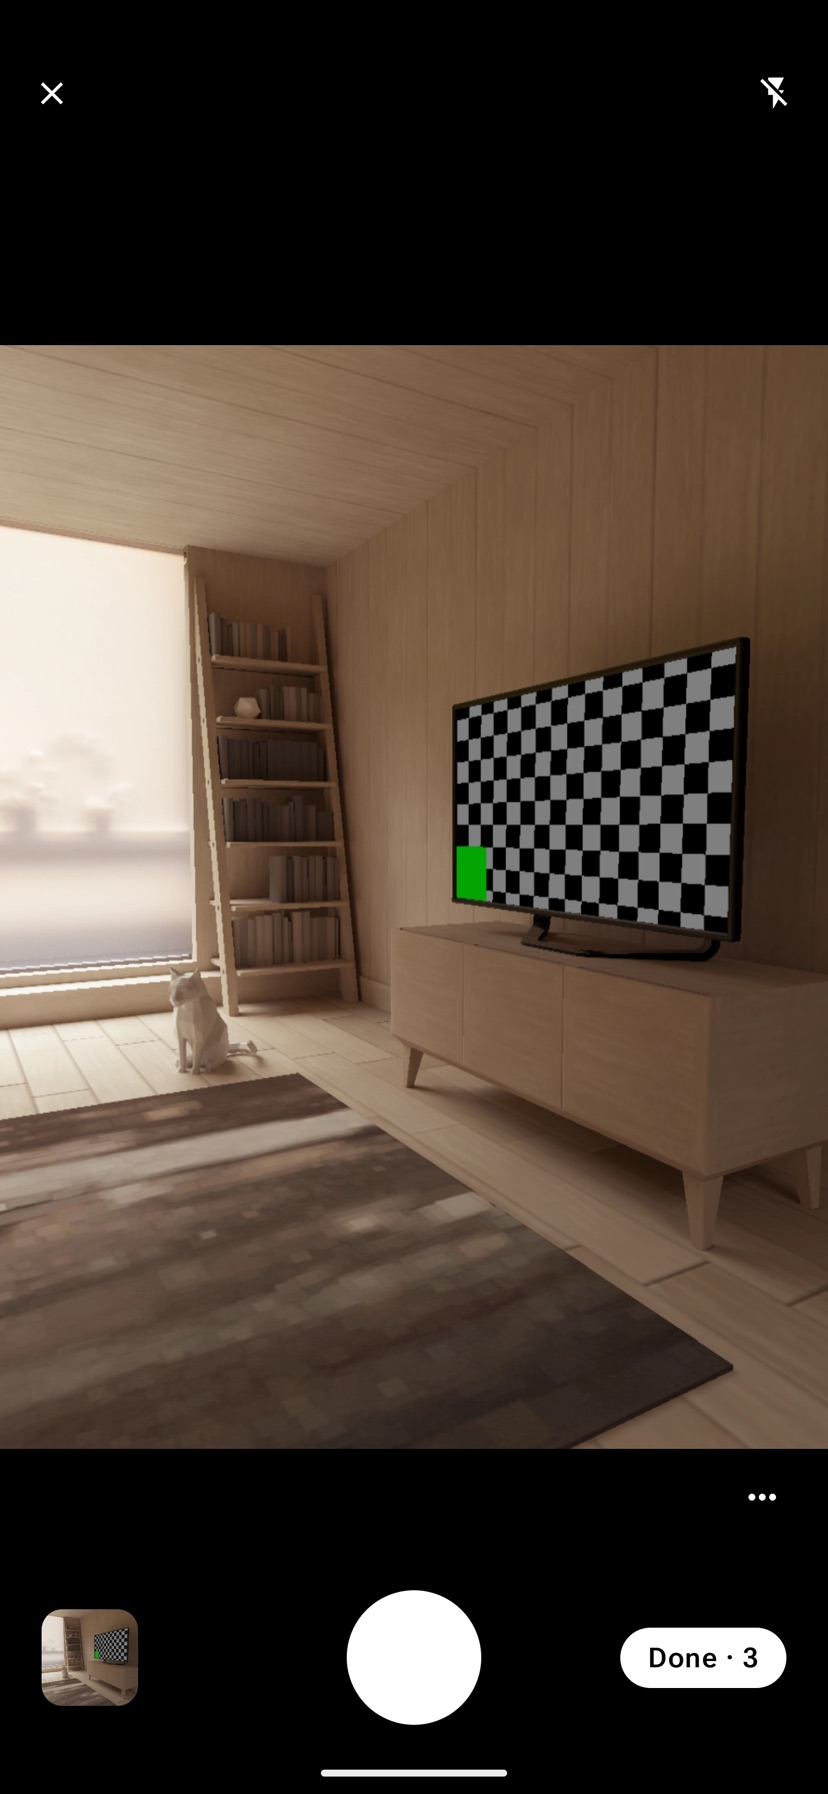
Tap Done when you have finished. Closing the camera another way asks whether to discard the shots.
Choose photos from your phone
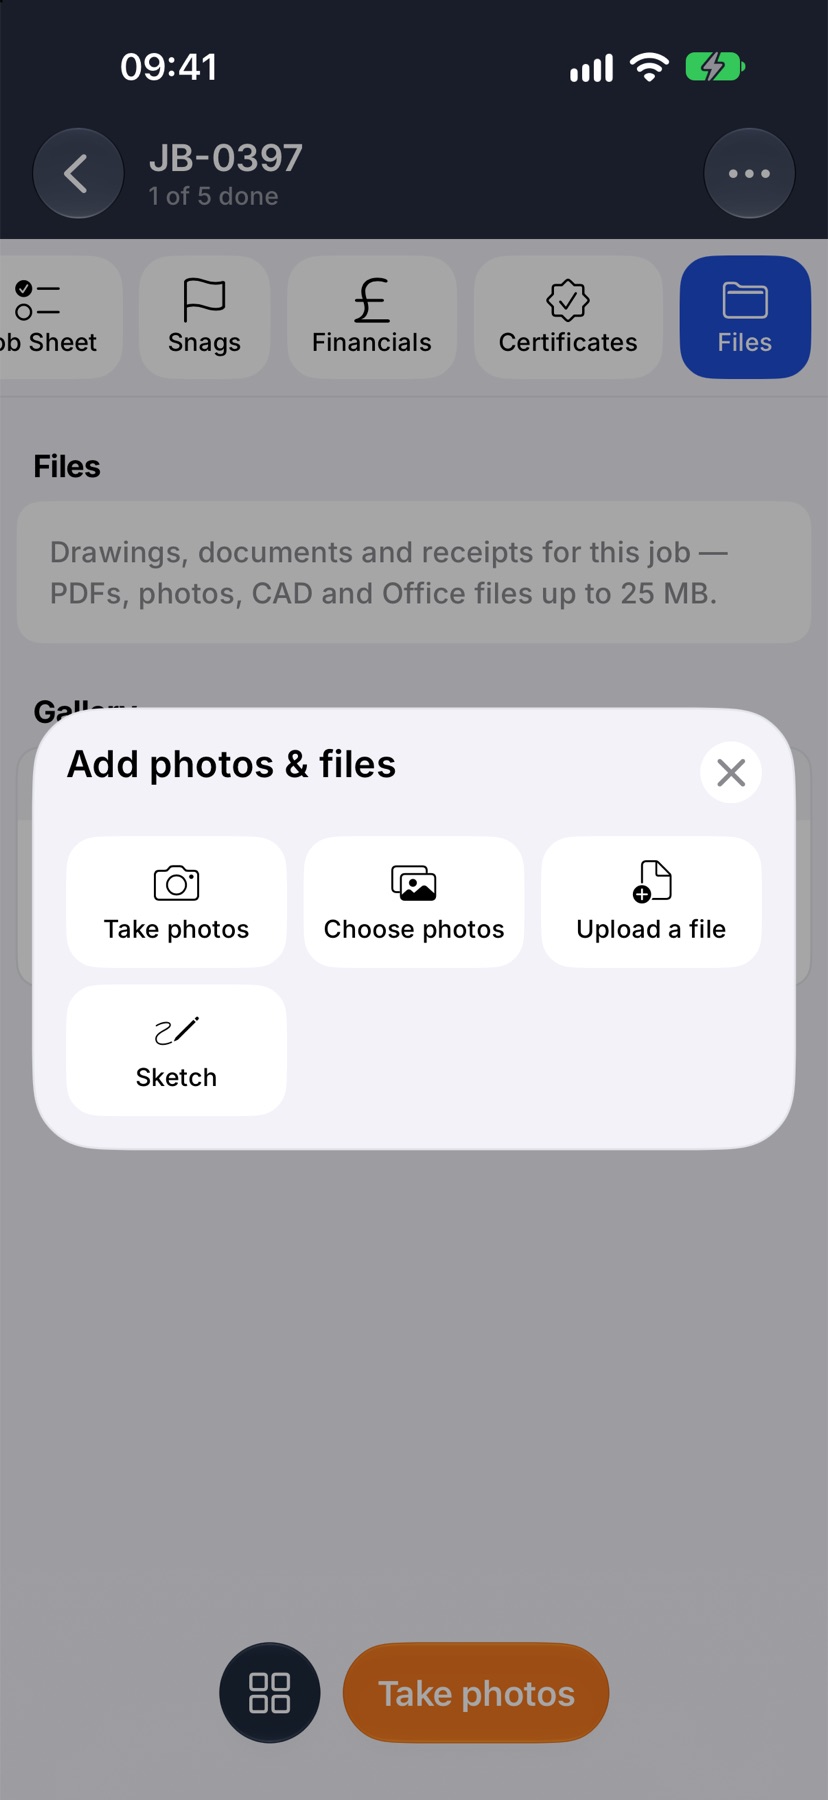
To use photos already on your phone, tap the round grid button at the bottom of the Files tab and tap Choose photos. Pick the photos in your library. They go through the same review as photos from the camera.
Draw on a photo before it saves
After the camera or the library, the photos open for review. The row of small pictures shows which one you are on, such as 1 of 3. Tap another to move to it.
Draw on the photo with your finger. The tools at the bottom are a red pen, a yellow marker and an eraser. Undo and Redo are at the top. To drop a photo from the batch, tap the bin beside the count.
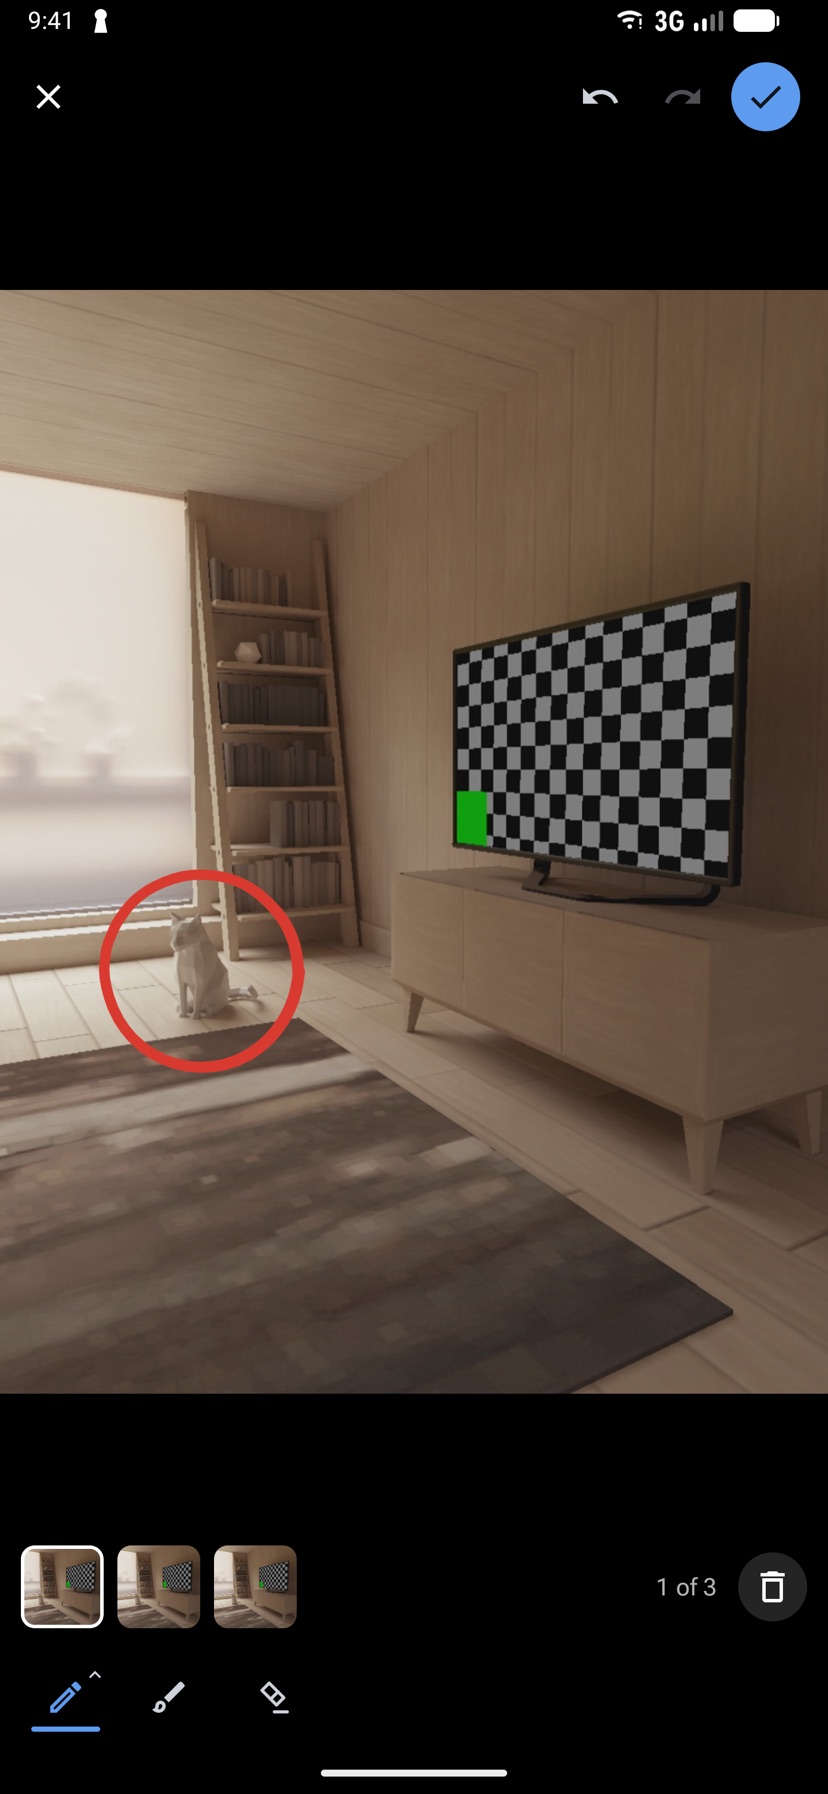
Tap the tick at the top right to save. A message confirms how many photos were added. Tap the cross instead to discard them all.
Find the photos on the job
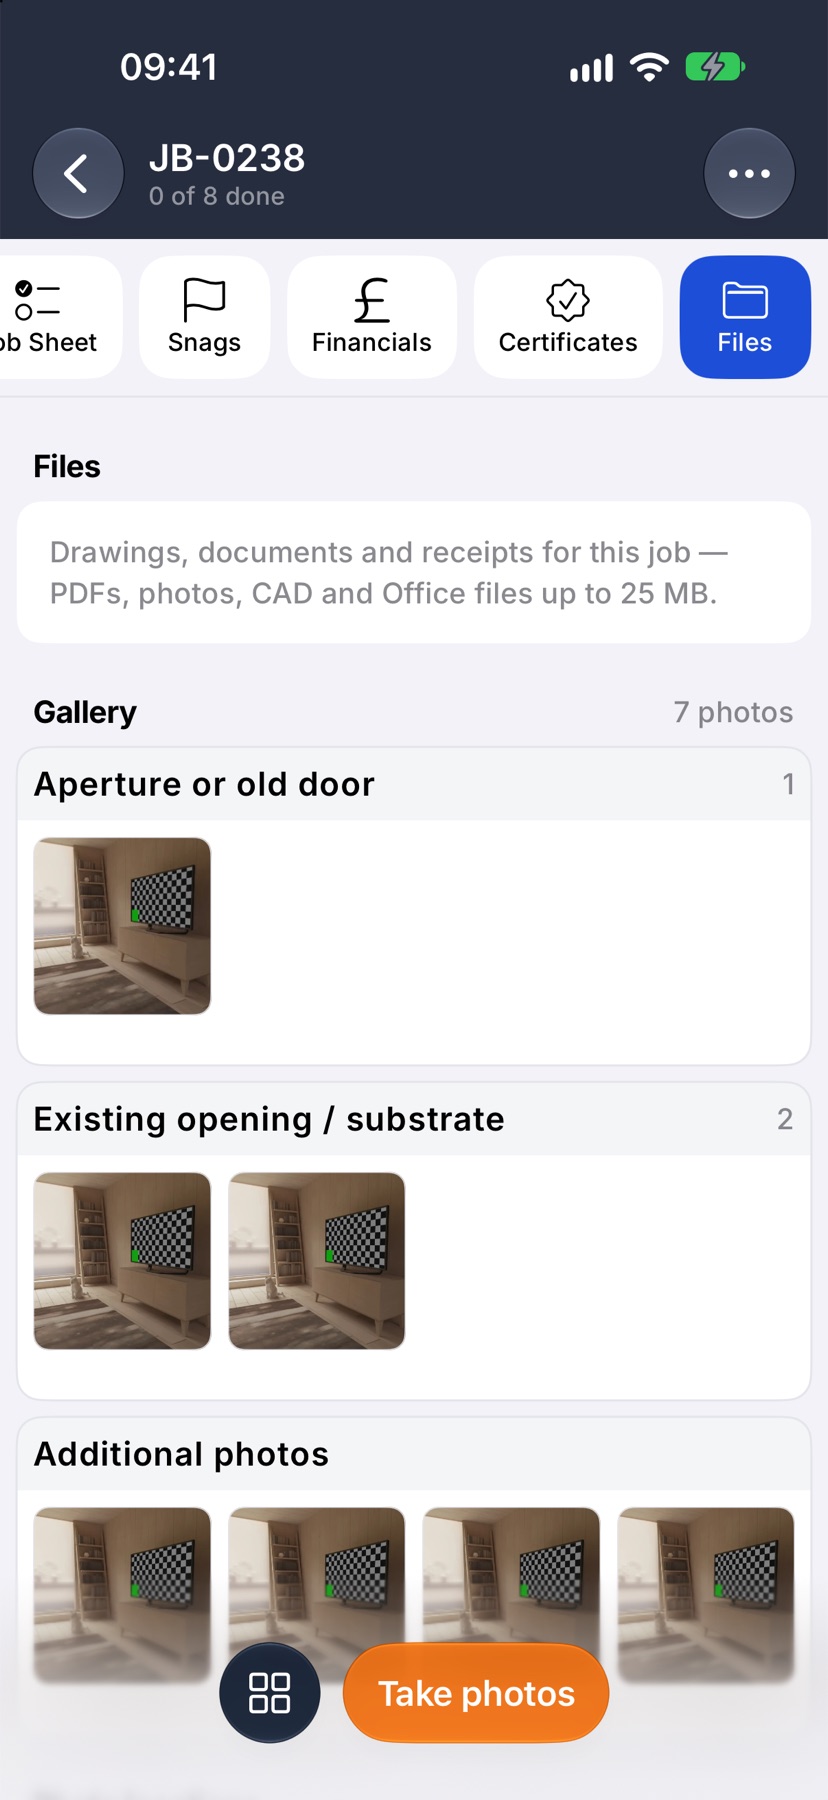
Saved photos are on the job's Files tab under Gallery. Photos taken on a task are grouped under that task's name. Photos added to the job itself are under Additional photos.
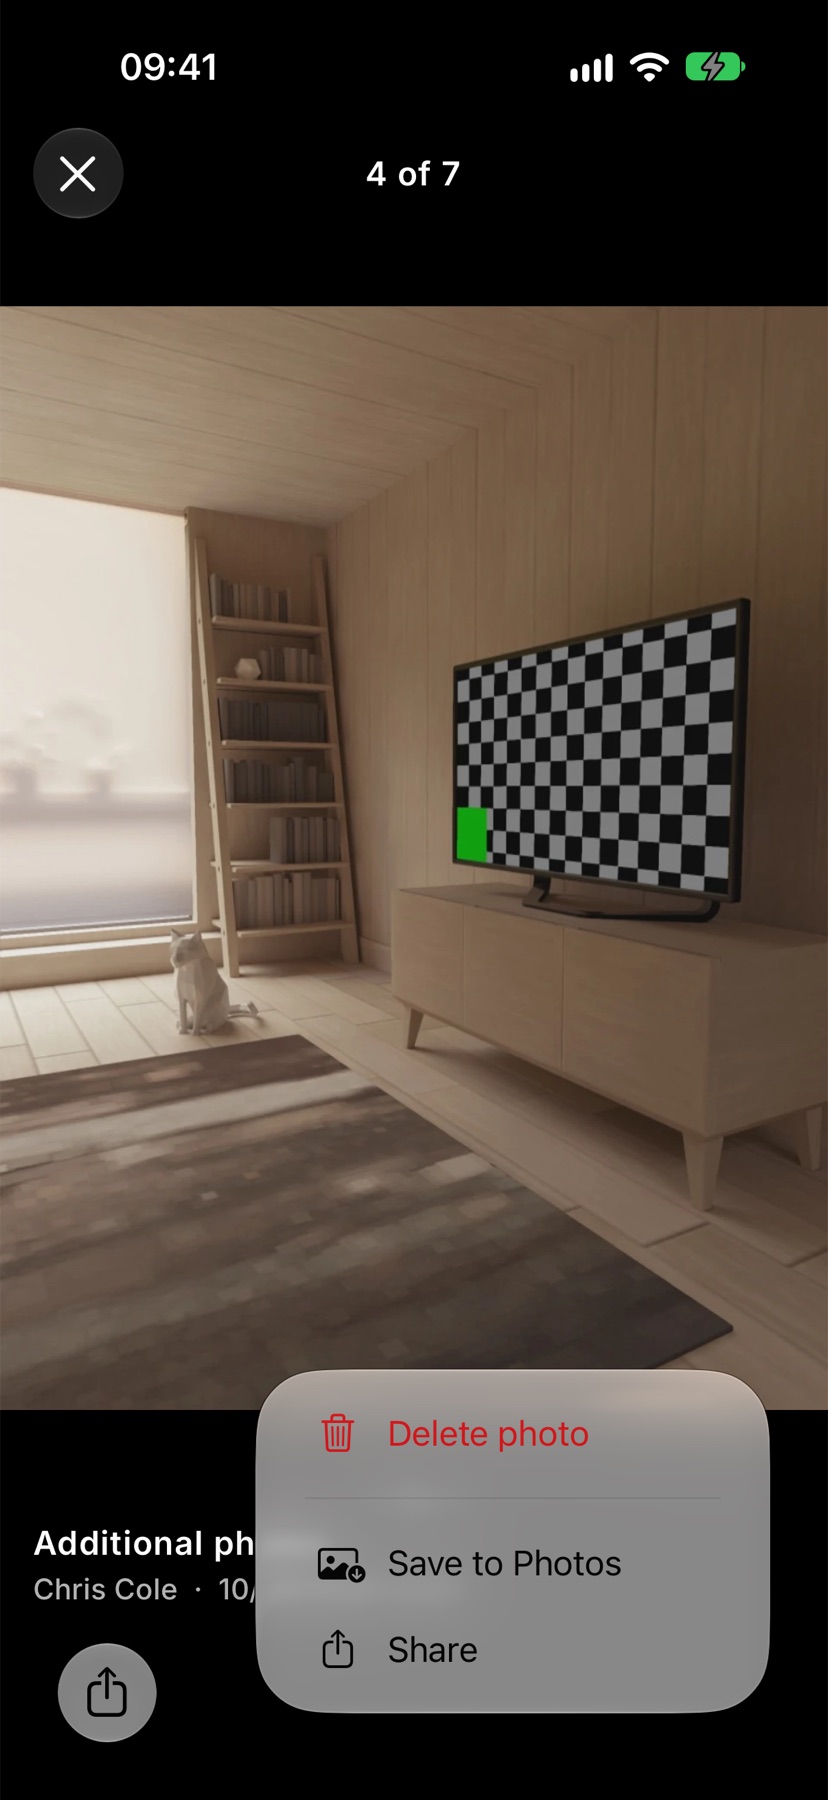
Tap a photo to open it full screen. Swipe to move through the rest. The line under the photo says who took it and when.
See where photos were taken
Below the gallery, Photo locations is a map with a pin for each photo that has a location. Tap a pin to open that photo.
Share a photo or save it to your phone
Open the photo. Tap Share at the bottom left to send it by message or email. Tap the three dots at the bottom right and Save to Photos to keep a copy in your phone's photo library.
For a photo taken on a task, the same menu has Show on the task, which takes you to the task the photo belongs to. It also has Delete photo if you are allowed to remove it.
If saving fails, allow Jobivo to add photos in your phone's Settings, under Jobivo and then Photos, and try again.
More in Jobs →
- Create a jobStart a job: the customer, the dates, the job sheet and any compliance it needs.
- The job pageHow one job page tracks the work, the photos and the money in one place.
- The job sheetBuild the tasks your team works through on site, and ask for photo evidence where it matters.
- Complete tasks and add evidenceComplete a task with the photos, notes or signature it asks for — and what to do when it won't tick.
Still stuck? Email support@jobivo.co.uk and we'll get back to you.