Create a job
A job is one piece of work: who it's for, when it's happening, and the tasks your team works through on site. You create one from the Jobs page in a single short form.
Where to start#
Click Jobs in the side menu, then + New at the right of the toolbar. The New job form opens over the list.
The New job form#
Only Job name and Customer are needed. Create job stays greyed out until both are filled in.
- Job name
- Your own name for the job, shown on job cards and lists. Make it one you will recognise, such as “Boiler replacement”.
- Customer
- Who the job is for. Search for them, or type a new name and create them on the spot.
- Project
- Optional. Puts the job inside a project. Shown only when projects are switched on.
- Template
- Optional. Starts the job with a ready-made job sheet instead of an empty one.
- Job description
- Optional. What the work is, for the people doing it.
- Start date (optional)
- Puts the job on the schedule. Its status reads Scheduled until work begins.
- Target completion (optional)
- When you have promised it by. It cannot be before the start date.
A customer who isn't in the list yet#
Type their name in Customer. If there is no match, click + Createwith the name beside it. The customer is created and chosen, and you carry on with the form. Add their address and contact details later from the customer's page.
Start from a template#
Open Template and pick one. Your templates are the ones your company has saved; Template library are ready-made ones. Each shows how many sub-jobs and tasks it holds. The job opens with that sheet loaded, and you can change it for this job.
Create it#
Click Create job. The job gets the next reference, such as JB-0241, and its own page opens on the Job Sheet tab. From there you add tasks, assign people and raise a quote. The address, your own reference and the regulations for the job are under Edit Jobin the job's ⋯ menu.
Tip — creating the same kind of job over and over? Build the job sheet once, save it as a template, then every new job is a name, a customer and a template.
Set up a job for a customer in under a minute, with its tasks ready to work through.
What a job is
A job is one piece of work for one customer at one address. It holds everything about that work in one place: the tasks to do, the photos taken, the people on it, and what it costs and earns.
Creating the job is the starting point for the rest. Once it exists you can add tasks, quote it, schedule it, raise snags against it and invoice it.
A job needs two things: a customer, and a few words saying what the job is. Everything else on the form is optional and can be added later.
A job stands on its own. It does not have to be in a project, and it does not have to have sub-jobs.
Where to start
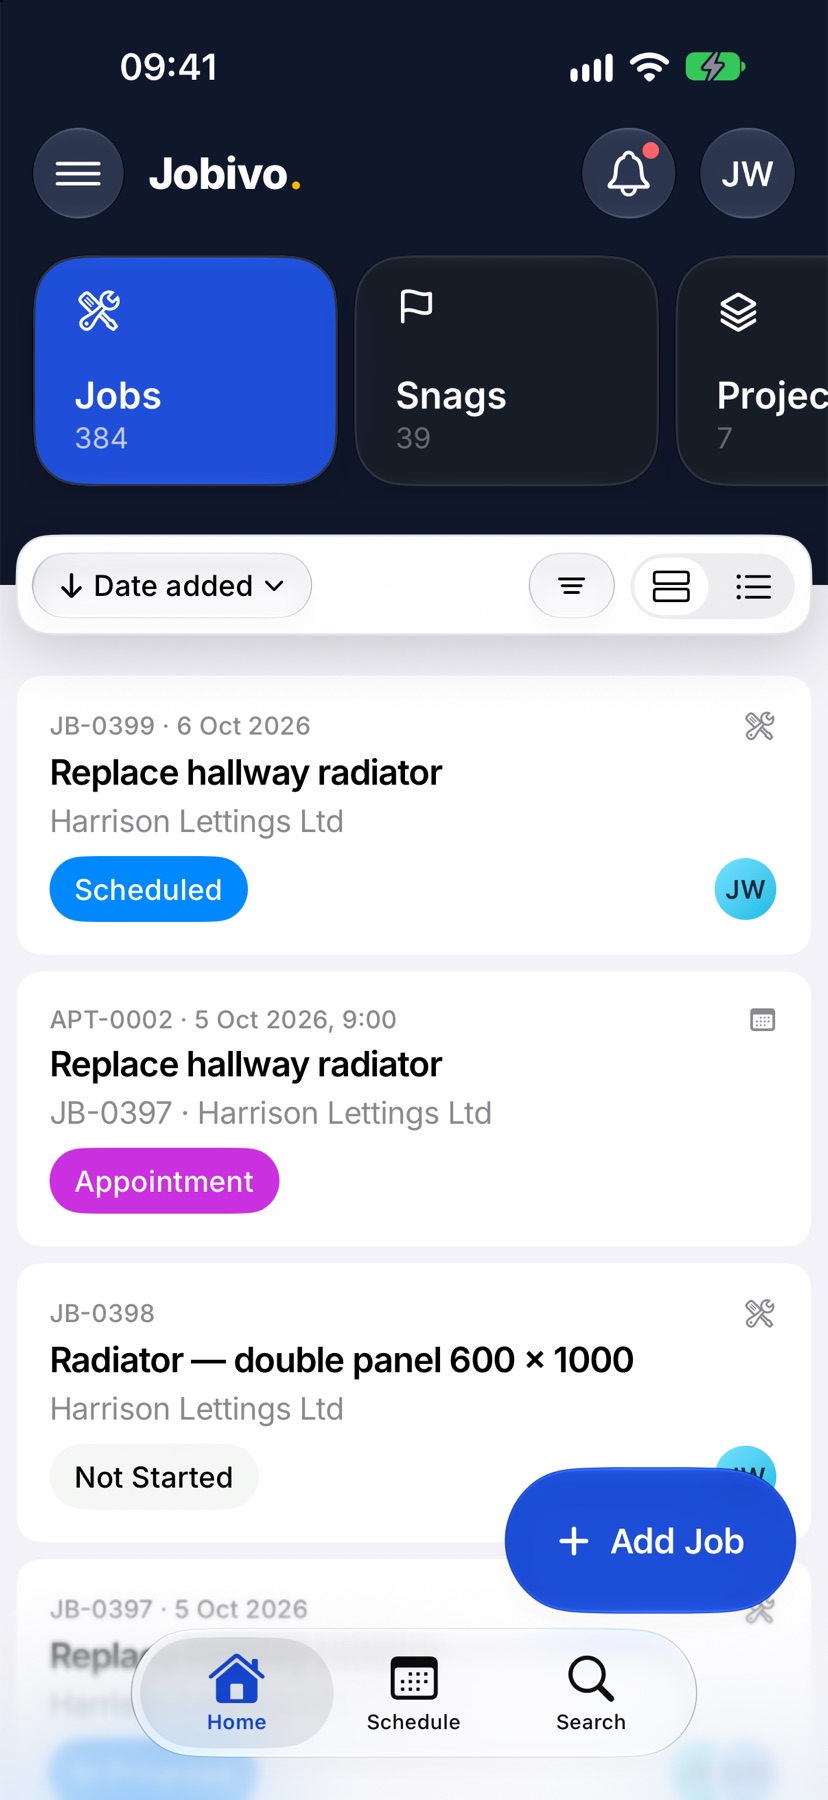
Open Jobivo on Home with Jobs selected at the top. Tap Add Job at the bottom right.
Choose the customer
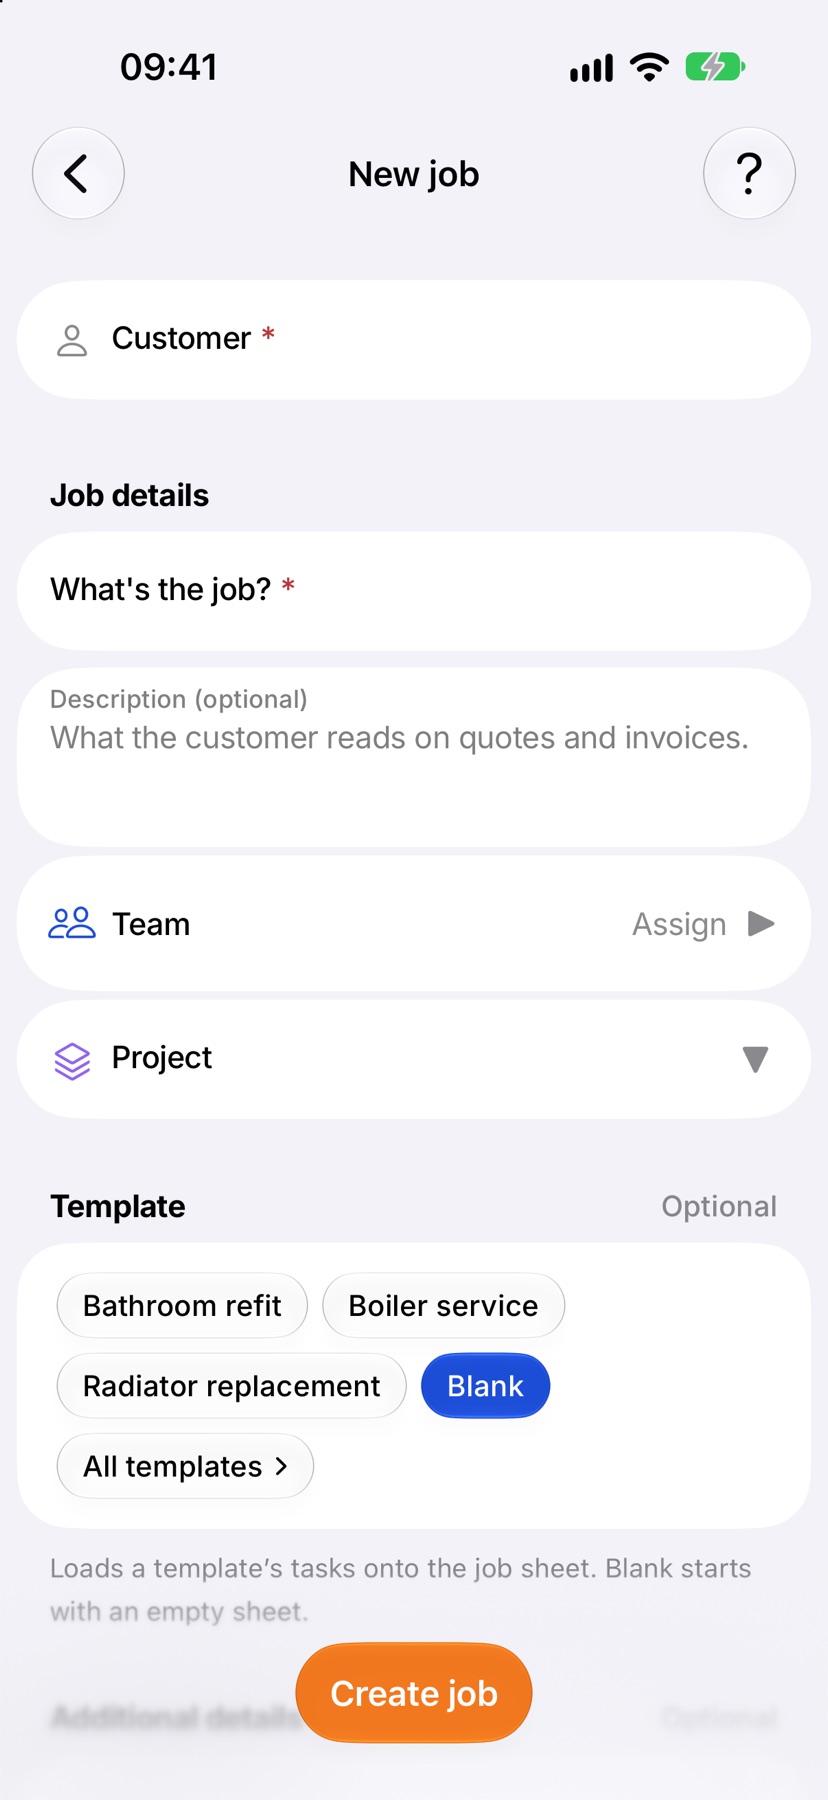
New job opens with nothing filled in. Tap Customer. Your most recent customers are listed straight away, and typing a few letters narrows the list. Tap the customer.
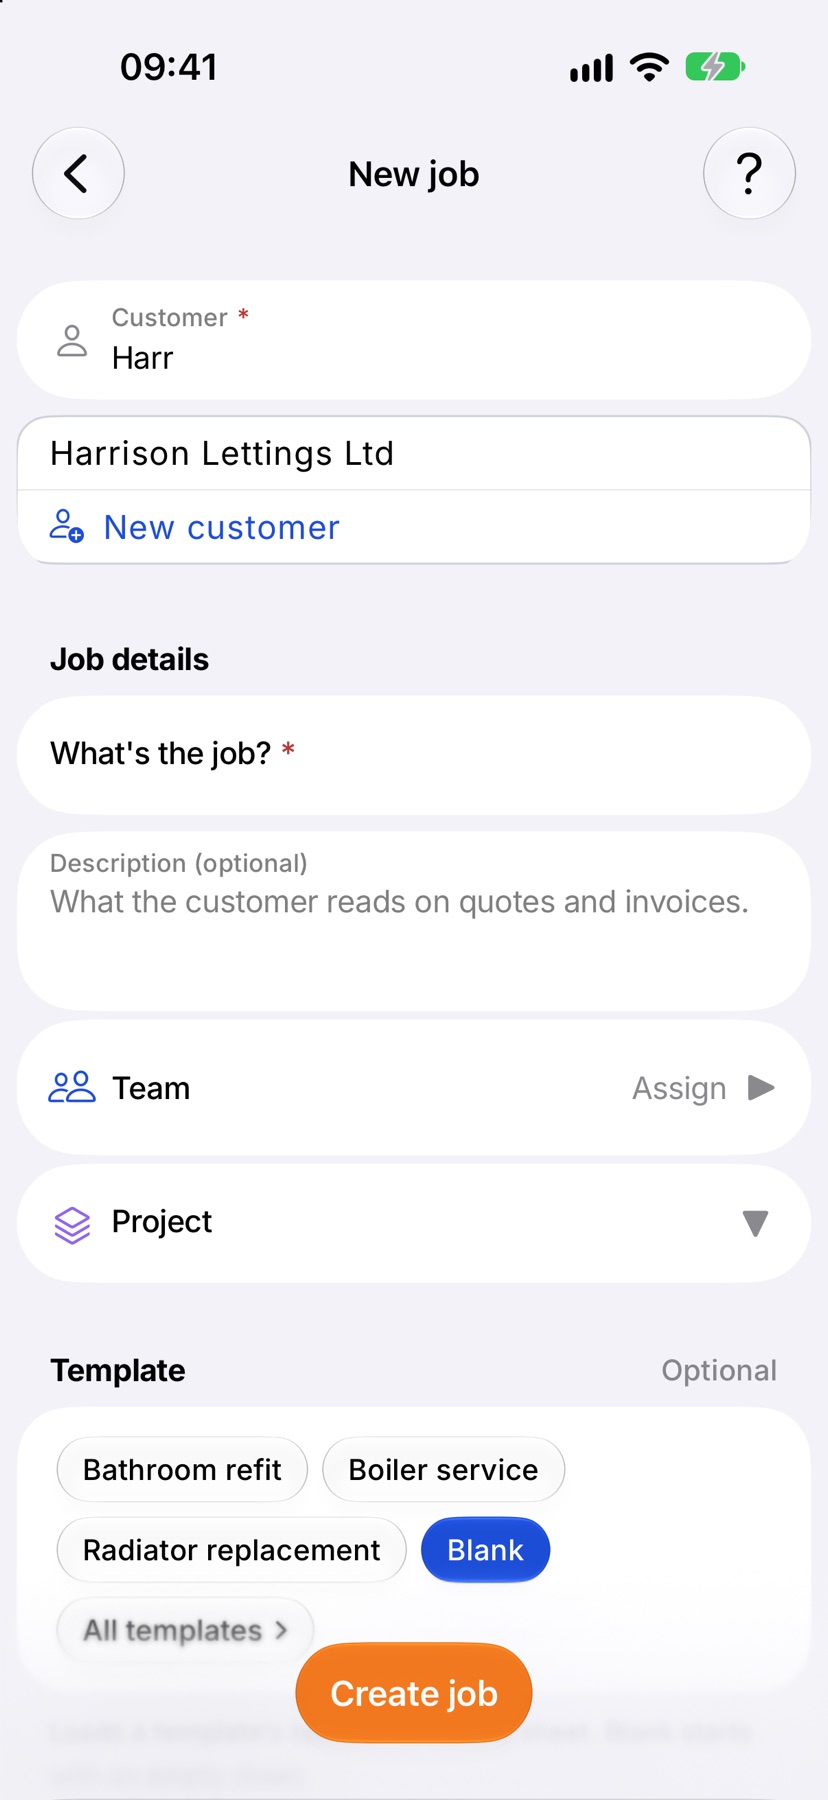
If the customer has an address on file it fills in under their name. Tap Address to choose a different one for this job.
Say what the job is
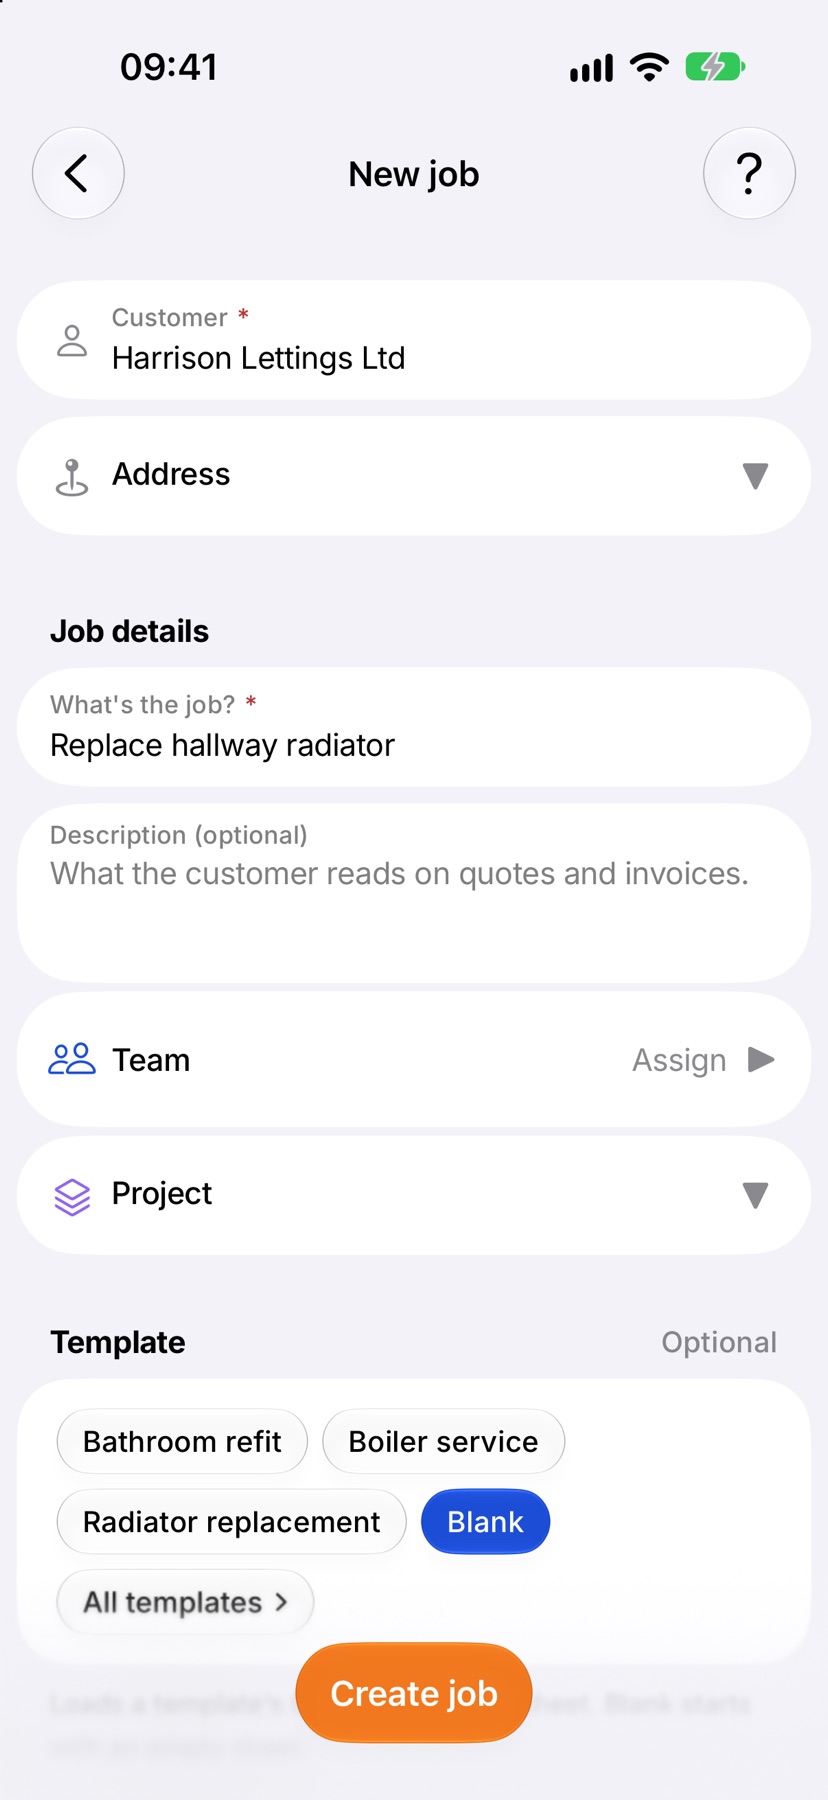
Type a short name in What's the job? Use words you will recognise in a list, such as “Replace hallway radiator”.
Description is optional. It is what the customer reads on quotes and invoices. You can also set the Team and a Project here, or leave them.
Pick a template
Under Template, tap one of your most-used templates to load its tasks onto the job, or tap Blank to start with an empty job sheet. All templates shows the full list.
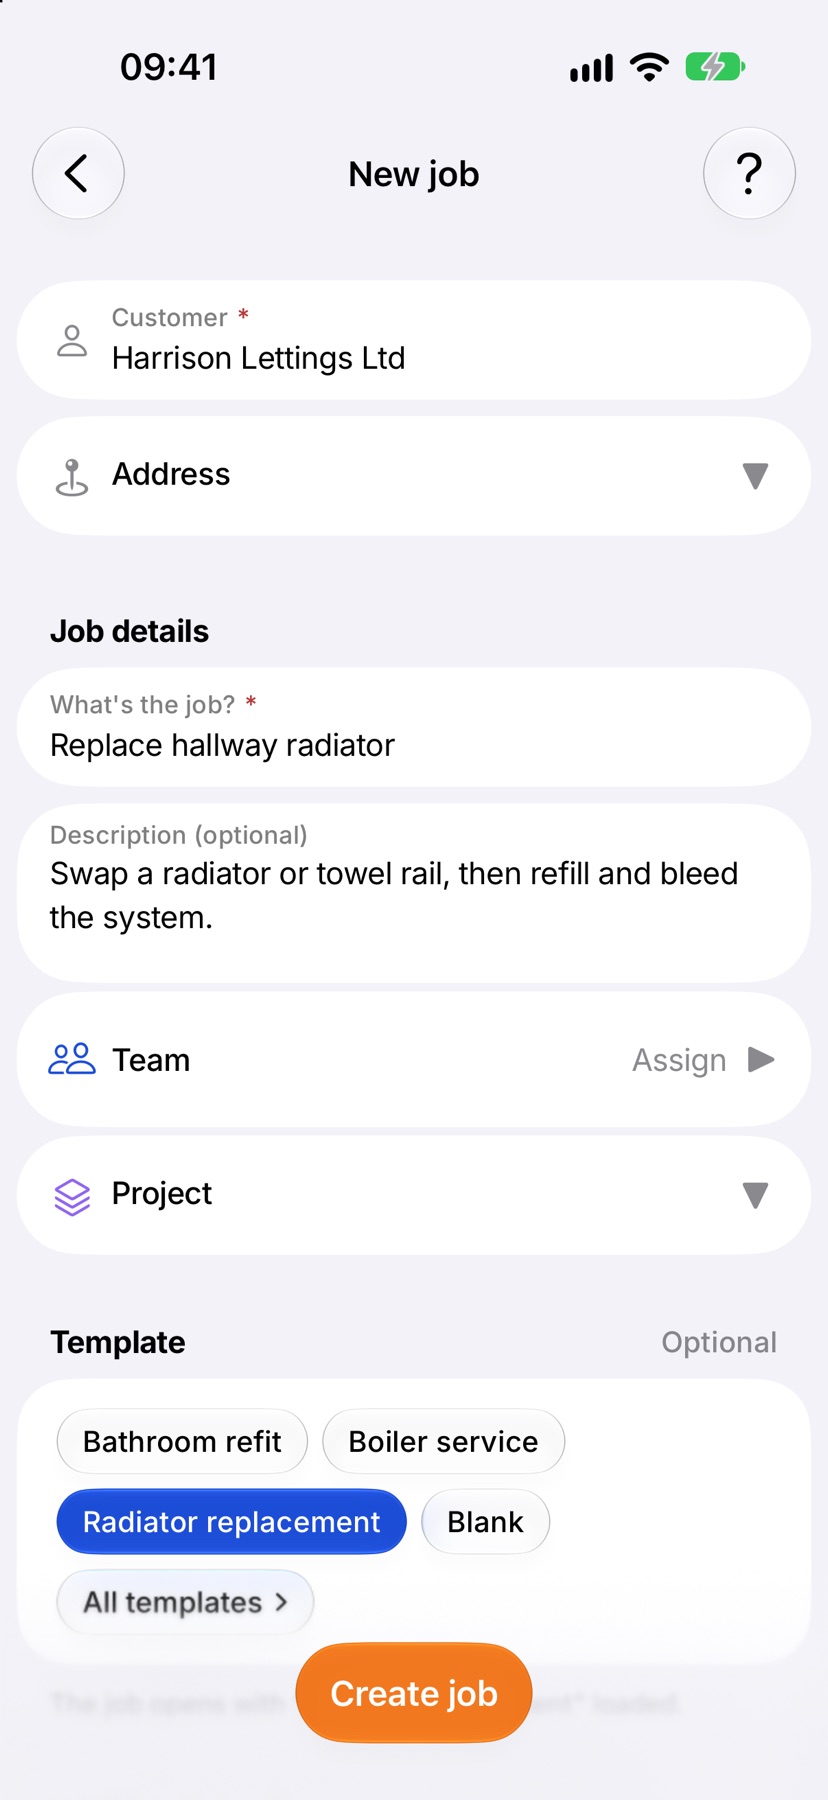
A template can carry its own description. It fills Description if you left that empty, and you can change it.
Create the job
Tap Create job at the bottom of the screen. If the job name is missing, the form shows you where.
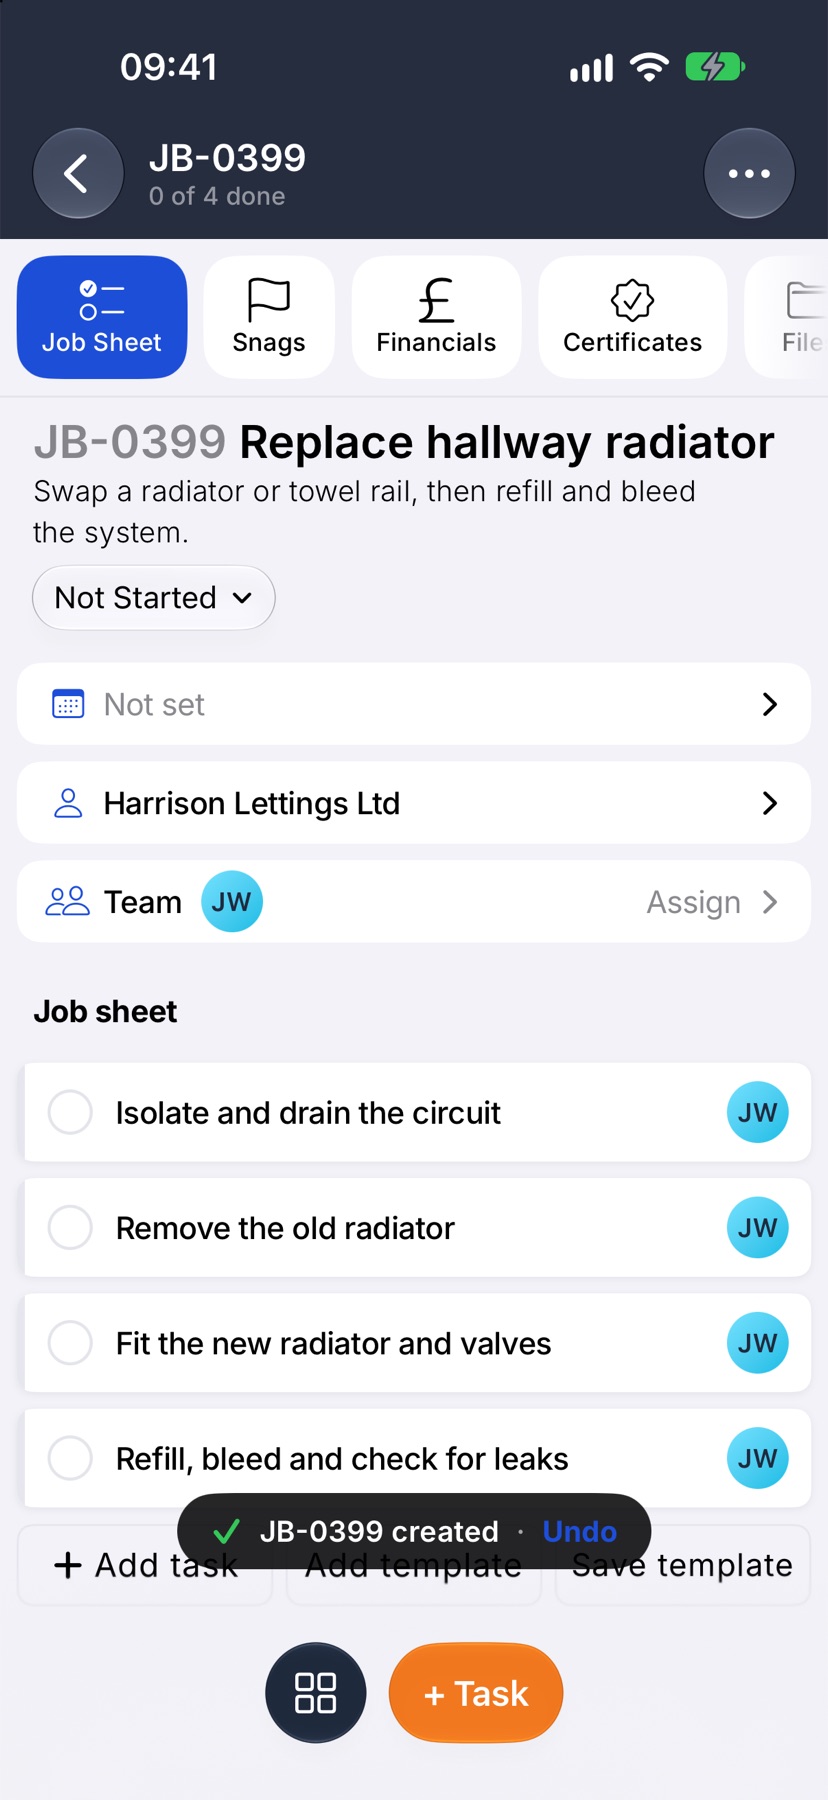
The job opens on its Job Sheet with its number, the customer, the team and the template's tasks. A message confirms the job number, with Undo for a few seconds if you created it by mistake.
After the job is created
The tabs across the top are the rest of the job: Job Sheet for the tasks, Snags, Financials for costs, quotes and invoices, Certificates and Files.
Tap + Task at the bottom to add more work to the job sheet. The status under the title starts at Not Started and moves on as tasks are ticked off.
More in Jobs →
- The job pageHow one job page tracks the work, the photos and the money in one place.
- The job sheetBuild the tasks your team works through on site, and ask for photo evidence where it matters.
- Complete tasks and add evidenceComplete a task with the photos, notes or signature it asks for — and what to do when it won't tick.
- Take and mark up photosUse the Jobivo camera, draw on a photo before it saves, and see where every shot was taken.
See what else Job sheets can do. Still stuck? Email support@jobivo.co.uk and we'll get back to you.